The easiest car maintenance tasks you can do yourself at home take ten minutes, require a few basic supplies, and save real money on labor. Most new car owners assume that anything involving the hood requires a mechanic, a dealership appointment, and a bill that stings, but a solid chunk of routine car maintenance can be handled at home by someone with zero mechanical experience. Studies and consumer surveys consistently show that simple DIY car maintenance is one of the most overlooked ways to reduce ownership costs.
If you’re new to basic auto care, Qurabox’s car maintenance guides are written specifically for people starting from scratch, with no assumed knowledge and no skipped steps. They’re a solid reference to bookmark before you pop the hood for the first time.
Each task below comes with what you need, how long it takes, what it costs, and the specific signals that tell you to stop and call a pro instead of pushing forward.
Easiest Car Maintenance Tasks You Can Do Yourself at Home: Quick Visual Checks
These three tasks are the foundation of any beginner car maintenance checklist. They’re very low cost, or no cost at all for many people, and require no parts. Build them into a monthly habit and you’ll catch most problems before they turn expensive.
1. Check your tire pressure
Every tire has a recommended PSI (pounds per square inch), and the right number is on the sticker inside your driver’s door jamb, not on the tire sidewall. The sidewall number is the tire’s maximum pressure, not your car’s target. To check: remove the valve cap from the stem, press a tire pressure gauge firmly onto the stem until the hissing stops, and read the number. Add air at any gas station or with a portable inflator if you’re low.
Tires slowly lose pressure over time, and cold weather can lower it noticeably. Checking monthly keeps your fuel economy, tire life, and handling where they should be. A portable inflator typically runs $25, $35 and pays for itself quickly. Many gas stations still offer free air, so for many drivers the cost to start is literally zero, though you will want at minimum a digital gauge to read the pressure accurately.
2. Inspect fluid levels
On most vehicles, engine oil, coolant, brake fluid, and power-steering fluid all have dedicated dipsticks or translucent reservoirs with min/max markings. (Some newer cars use electric power steering and have no power-steering fluid reservoir, check your owner’s manual to confirm what applies to your model.) On a cold, level engine, pull the oil dipstick, wipe it clean, reinsert it fully, and pull it out again to read the level. Coolant, brake fluid, and power-steering fluid reservoirs are visible at a glance without pulling anything out.
Top off fluids only when your owner’s manual specifically says it’s user-serviceable. A low brake fluid level is a signal to call a mechanic, not to reach for a bottle. Brake fluid drops usually indicate pad wear or a leak, both are conditions you should have diagnosed, not mask by topping off the fluid.
3. Test all exterior lights
Use the buddy system: one person walks around the car while the other activates headlights, brake lights, reverse lights, and turn signals. If you’re alone, park close to a wall or garage door and watch the reflection. A burned-out bulb typically costs under $10 at any auto parts store for standard replacements and swaps in minutes on most vehicles. (Specialty LED assemblies or certain import bulbs may run higher, check before you buy.)
Simple Part Swaps Anyone Can Finish in Under 15 Minutes
These tasks involve replacing a part, but none require lifting the car, crawling underneath, or touching anything mechanical. They’re the natural next step after you’ve gotten comfortable with the visual checks above.
4. Replace windshield wipers
Streaking, skipping, or squeaking during rain means your wiper blades are done. Before you lift the arm, place a folded towel on the windshield directly below it. If the arm snaps back unexpectedly, the towel protects the glass. Lift the arm, press or slide the release tab or clip where the blade meets the arm, and slide the blade off. Attach the new blade by reversing those steps until you hear a click, then tug gently to confirm it’s locked. Before buying, confirm the correct blade size and connector type for your vehicle, both are listed on the packaging or in your owner’s manual.
New wiper blades typically run $10, $25 each depending on brand and blade style, treat those as approximate estimates that vary by vehicle. A shop will generally charge $20, $40 in labor for the same job that takes you five minutes at home, though rates vary by location. Replace them every six to twelve months, or sooner if they start skipping.
5. Swap the cabin or engine air filter
Both filters are accessible without tools on many vehicles, though your owner’s manual will confirm the exact access method for your model. The cabin air filter typically sits behind the glove box; open the glove box, squeeze the sides inward to let it drop down, and the filter housing is right there. The engine air filter lives in a rectangular plastic box near the top of the engine, usually secured with clips or a couple of screws. Open the housing, note which direction the old filter faces, slide it out, slide the new one in the same direction, and close the housing.
Filters generally run $15, $30 each as a DIY purchase, though prices vary by make and model, check your vehicle’s parts listing before buying. A shop can charge $40, $130 or more for a cabin filter swap, with engine air filter labor adding additional cost at dealerships. Engine air filters are generally recommended for replacement every 15,000, 30,000 miles, depending on your vehicle and driving conditions; a dirty engine air filter can affect fuel efficiency. The cabin air filter follows a similar interval but primarily affects air quality inside the car, not fuel economy. Always verify the intervals for your specific vehicle in the owner’s manual. The whole job takes about ten minutes combined.
6. Refill windshield washer fluid
Find the reservoir under the hood (look for a blue cap, usually marked with a spray symbol), unscrew it, pour in pre-mixed washer fluid, and replace the cap. That’s the entire job. A jug typically costs $3, $5 and lasts several refills. Never use plain water in freezing temperatures; it will ice up in the lines and crack the reservoir.
Two Tasks to Graduate to Once You’re Comfortable
These take a little more time and one or two basic tools, but they’re still firmly in beginner territory with the right prep.
7. Clean battery terminals
Corrosion looks like a white or blue-green powdery buildup around the battery posts. Left alone, it weakens the connection and can eventually leave you stranded. To clean it: put on gloves and eye protection first, then disconnect the negative terminal (marked with a minus sign), followed by the positive. Mix one tablespoon of baking soda with one cup of water and scrub the corroded posts with an old toothbrush until the buildup stops fizzing. Rinse lightly with clean water, dry completely, then reconnect the positive terminal first and the negative last. Avoid getting the cleaning solution into any nearby electronics, and replace the battery if you notice cracks or leaks.
You’ll need a basic wrench set (typically $15, $25) to loosen the terminal clamps. The baking soda and toothbrush are already in your kitchen. The whole job takes roughly 20 minutes, though that varies by vehicle and how corroded the terminals are. Do this once or twice a year and your battery connection stays clean and reliable. After reconnecting, apply a small dab of petroleum jelly to the outside of the posts to slow future buildup.
8. Check and top off engine oil
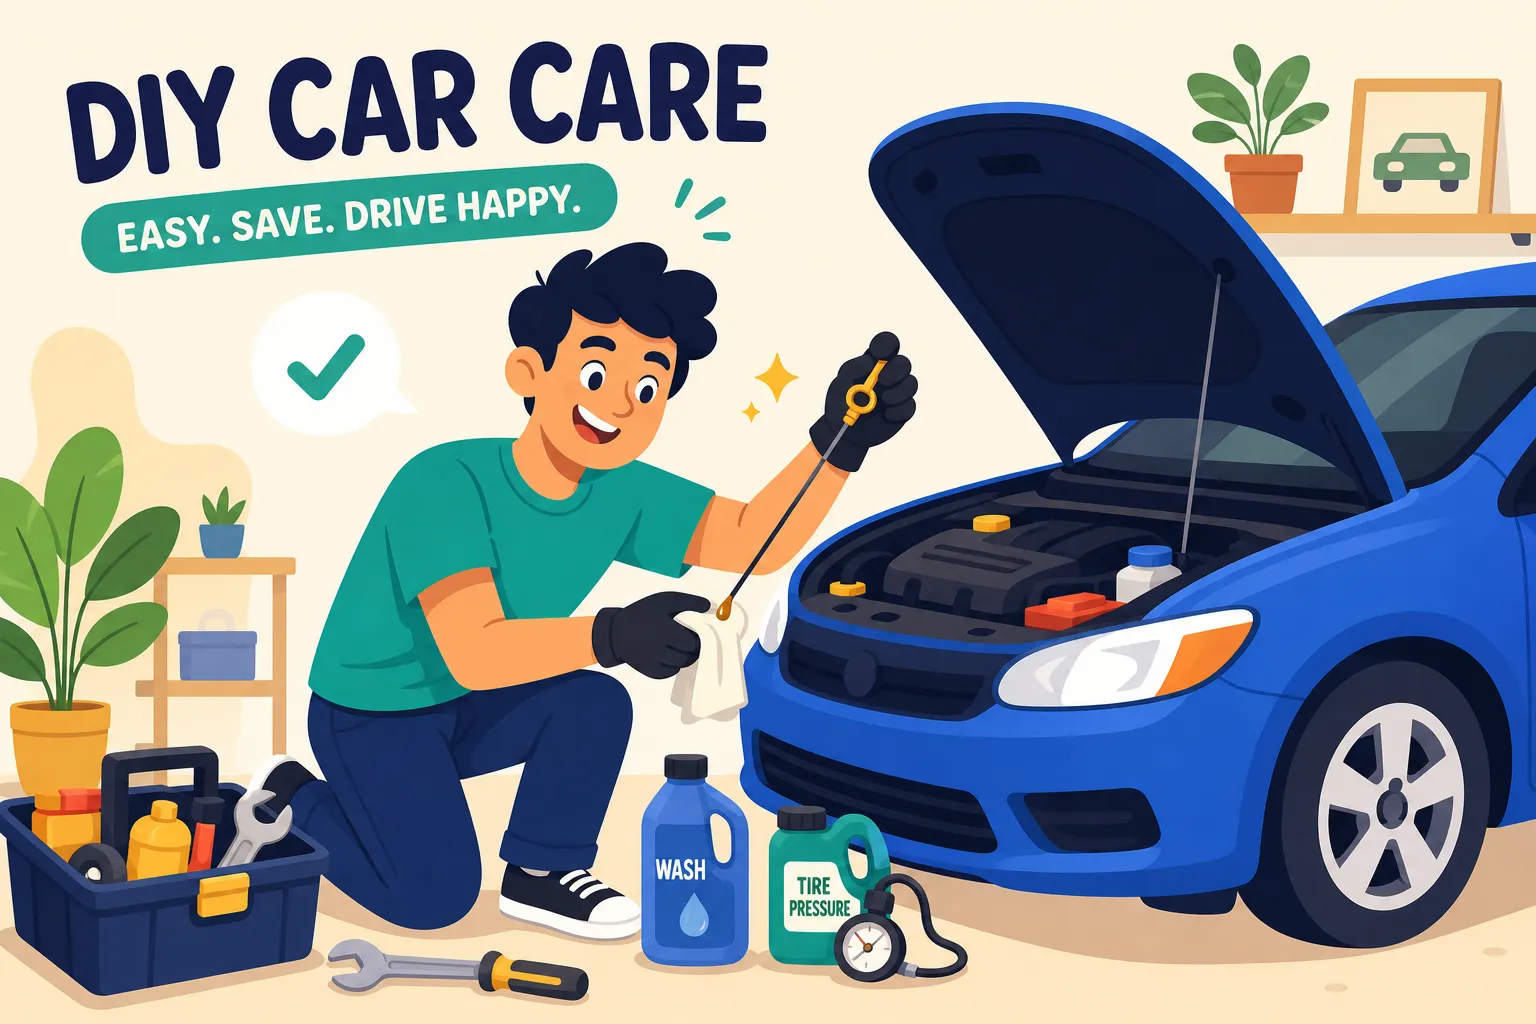
Topping off oil is not the same as a full oil change, and it’s far simpler. With the engine off and cool, and the car on level ground, pull the dipstick, wipe it with a rag, reinsert it all the way, pull it out again, and read where the oil sits between the min and max marks. If it’s low, add the correct oil type in small amounts and recheck each time. The right oil weight is in your owner’s manual or printed on the oil cap itself.
Check the oil level monthly. If you’re consistently low between changes, mention it to a mechanic, it may signal a slow leak or oil consumption issue rather than a simple topping-off situation.
What Tools You Actually Need Before You Start
You don’t need a full garage setup to handle do-it-yourself car upkeep. A basic kit covers all eight tasks above and can often be assembled for under $75, depending on brand and where you shop.
- Digital tire pressure gauge: $8, $15
- Portable tire inflator: $25, $35
- Basic wrench set: $15, $25
- Flashlight or phone light
- Nitrile gloves (a box lasts a long time): $8, $12
Compare that to shop labor. A wiper replacement that costs you $15 in parts and five minutes at home can run $20, $40 at a shop. An air filter swap you handle in ten minutes for around $20 can cost $100 or more at a dealership once labor is added, exact figures vary by shop and vehicle. The financial case for basic home auto care adds up quickly once you account for just two or three tasks per year.
Signs You Should Stop and Call a Mechanic
Knowing when to stop is just as important as knowing how to start. These signals mean you put the tools down and get a professional diagnosis before doing anything else.
Watch for these physical red flags: fluid puddles under the car (brown or black is typically oil; green or orange is usually coolant), smoke from under the hood, and burning or sweet chemical smells. Note that a small amount of clear water dripping from the rear underside of the car is often normal air-conditioner condensation, but if you notice any unexpected puddle accompanied by an odor or discoloration, flag it for a mechanic. If any part won’t seat or fasten without forcing it, stop. Forcing it turns a small job into a much larger repair.
Dashboard alerts matter too. An oil pressure light, battery warning light, or a TPMS (tire pressure monitoring system) light that doesn’t clear after you inflate the tires all warrant a professional look.
Physical driving changes are equally important. If you notice pulling to one side, vibration at highway speed, or reduced braking responsiveness after you’ve done any work on the car, stop driving and get it diagnosed. Any of these signals during or after a DIY task is a clear sign to hand it off.
How to Turn These At-Home Car Maintenance Tasks into a Simple Monthly Habit
The goal isn’t to do all eight tasks every month. It’s to assign each one a realistic frequency so you’re never caught off guard by something you could have spotted weeks earlier.
Here’s a quick reference schedule, treat these as general guidelines and verify the specific intervals for your vehicle in the owner’s manual:
- Monthly: Check tire pressure (and before any long trip), inspect fluid levels, test exterior lights, check oil level
- Every 6, 12 months: Replace wiper blades, or sooner if they start skipping
- Every 15,000, 30,000 miles: Swap engine and cabin air filters (confirm with your owner’s manual)
- Once or twice a year: Clean battery terminals
That monthly walk-around takes about ten minutes and catches the majority of common issues before they become costly. For tracking, a simple notes app on your phone with the date of each last check is all you need, no special app, no spreadsheet. Just a running log you glance at when you fill up the tank. Qurabox’s beginner car maintenance guides go deeper on each of these tasks for readers who want vehicle-specific walkthroughs or want to expand into seasonal prep for summer or winter driving.
Start Small and Build From There
None of the tasks on this list require special training, expensive equipment, or a big block of time. Together, these eight jobs cover the most impactful at-home car maintenance tasks any beginner can start doing today, from a five-second pressure check to a twenty-minute battery terminal cleaning.
Start with the easiest car maintenance tasks you can do yourself at home: tire pressure, fluid levels, and lights. Do those three for a couple of months until they feel automatic. Then move to the part swaps, wipers, filters, washer fluid. Build up to the battery terminals and oil check at your own pace.
The first time you check your own tire pressure or slide a new wiper blade into place and hear it click, car ownership stops feeling like something that happens to you and starts feeling like something you’re in control of. That’s a practical shift with real financial value, and it grows with every simple car repair you add to your routine.