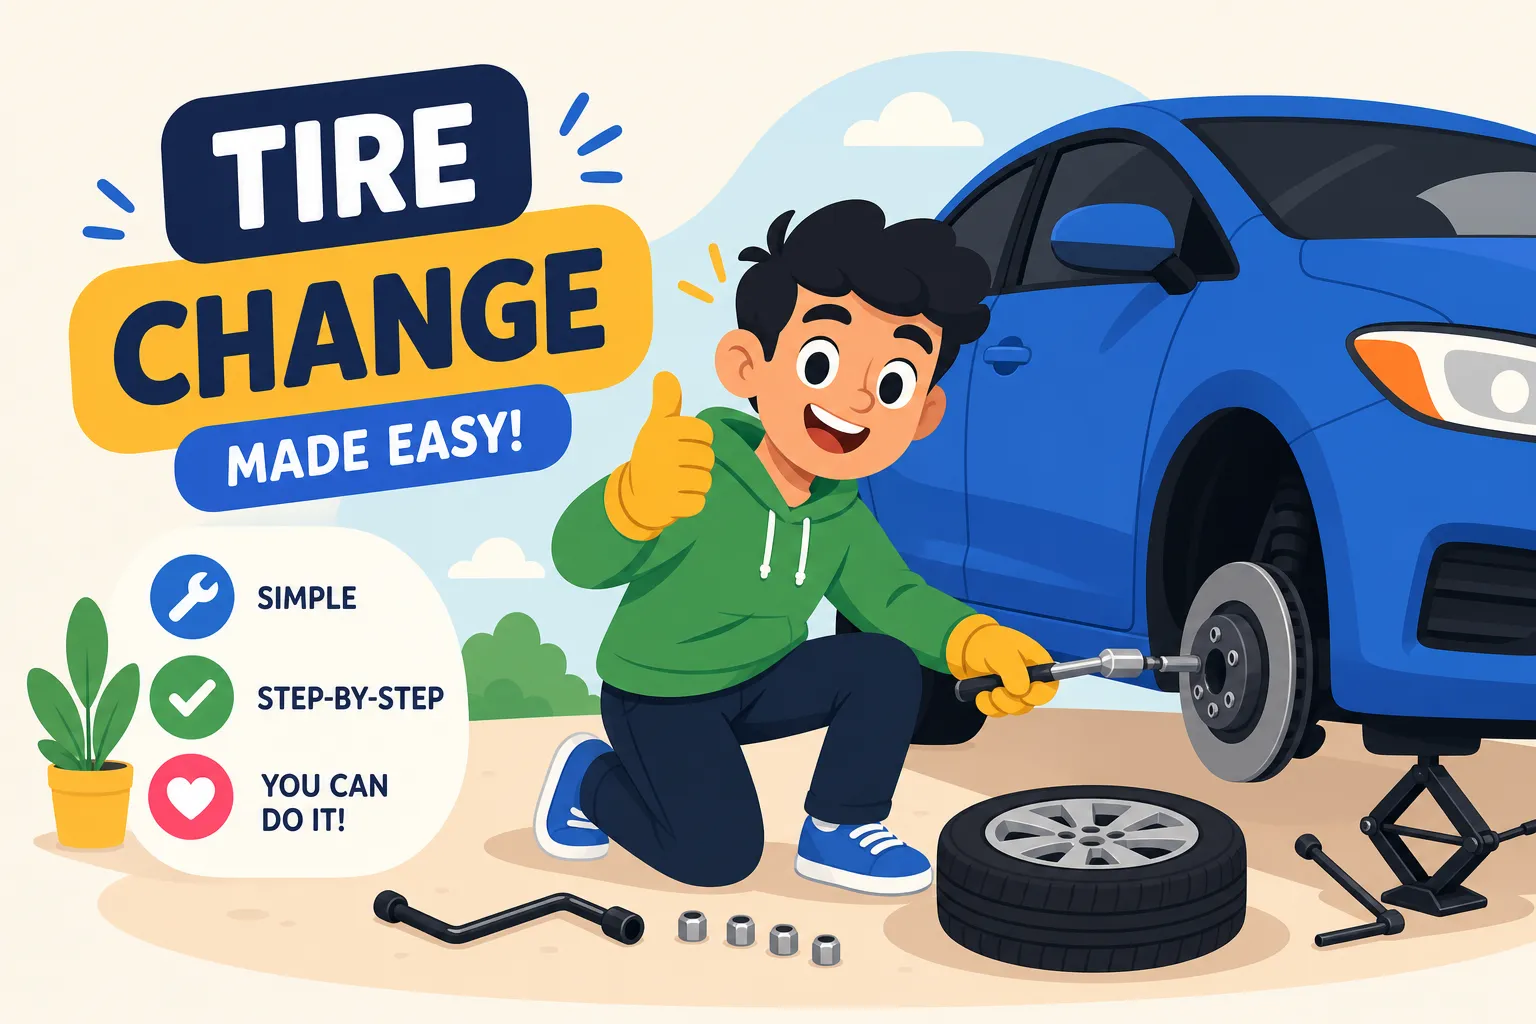
You’re on the side of the road, heart rate climbing, staring at a tire that’s clearly done for. Drivers are blowing past you. You’re not sure if you have the right tools. And you’re wondering whether to call someone or just figure this out yourself. That moment is stressful, but it doesn’t have to be a crisis.
This tire change guide, no experience needed, walks you step by step through changing a flat tire, even if you’ve never touched a lug wrench in your life. Changing a flat is one of those skills that looks intimidating until someone walks you through it with plain language. No mechanical background or prior experience required. At Qurabox, this is exactly the kind of practical task we exist to cover: the ones that feel impossibly technical until the steps are laid out clearly in front of you.
This guide covers everything you need: a tool checklist, a step-by-step tire swap process, the lug nut details most beginners skip, common mistakes to avoid, and a clear signal for when calling roadside assistance is the smarter move. Screenshot or bookmark this before you need it. That’s the point.
What Should Already Be in Your Trunk Before You Need This Guide
The Four Items Every Driver Needs on Hand
Your core kit has four pieces: a spare tire (fully inflated), a scissor jack or OEM jack, a lug wrench, and at least two wheel chocks. Wheel chocks are the rubber wedges that keep the car from rolling while it’s lifted; rocks or curb blocks work in a pinch. Most passenger cars come with all of these from the factory, stored under the trunk floor or mounted beneath the vehicle.
A portable tire inflator is worth keeping in the car as a low-cost backup. For minor leaks that don’t require a full swap, it can get you to a shop without pulling out the spare at all. They’re small, run off a 12V outlet, and cost less than $30 at most auto parts stores.
Where Your Spare and Jack Actually Live
Open your trunk and lift the floor mat panel. You’ll usually find the spare tire sitting in a circular well, with the jack and lug wrench tucked beside or underneath it. On most trucks and SUVs, the spare is stored under the rear of the vehicle on a cable winch system; your owner’s manual will show exactly how to lower it. Do this check now, while you’re parked safely at home, so you’re not searching in the dark on a highway shoulder.
The One Pre-Check That Most Drivers Skip
Spare tires lose pressure over time even when they’re sitting unused. A donut spare at 20 PSI is essentially useless when you need it most. Most donut spares require 60 PSI; full-size spares should match the pressure of your other tires. Check your spare every six months. This is the kind of five-minute maintenance step that makes the difference between a bad situation and a worse one.
Tire Change Guide, No Experience Needed: Safety First
Where to Pull Over (and Where to Avoid)
Turn on your hazard lights immediately, even before you fully commit to a pull-over spot. Look for a parking lot, rest stop, wide shoulder, or side street. Never stop on a curve, a hill, a narrow road, or in a construction zone if you can avoid it. If the nearest safe spot is 200 to 300 feet ahead, drive slowly on the flat rather than stopping in a dangerous position. A damaged rim is cheaper than a rear-end collision.
Once you’re stopped: put the car in Park, set the parking brake, and place wheel chocks behind the tires that will stay on the ground. These steps take 30 seconds and directly prevent the car from rolling off the jack, the most dangerous failure point in the whole process.
How to Make Yourself Visible to Other Drivers
Set up reflective triangles or road flares behind the car if you have them. At night, turn on your interior dome lights as an additional signal. Keep passengers out of the vehicle and away from the road, ideally behind a guardrail if one is available. If you don’t have a reflective vest, prop your phone on the ground with the flashlight facing oncoming traffic while you work. Visibility isn’t optional; it’s the part of this process that protects your life.
How to Change a Tire With No Experience: Step by Step
Step 1, Before You Lift the Car: Loosen the Lug Nuts First
If your wheel has a hubcap or decorative cover, use the flat end of the lug wrench to pry it off gently. Then position the wrench on each lug nut and turn counterclockwise to break them loose. Do not remove them yet. The tire needs to be on the ground to give you resistance while you break the initial torque. If the nuts are stubborn, stand on the wrench and use your body weight. That’s normal, and it works. For a clear visual walkthrough of the basic steps, see Discount Tire’s how to change a tire guide.
Step 2, Finding the Jack Point and Lifting the Car Safely
Look for the reinforced pinch weld along the underside edge of your car’s body, just inboard from each wheel. On most passenger cars it looks like a small notch or flat metal lip. If you’re unsure, consult your owner’s manual before placing the jack anywhere. Putting the jack on plastic body trim is the most common damage mistake beginners make, it can crack the body or tip the car off the jack entirely.
Position the jack on that reinforced point and crank until the flat tire is about six inches off the ground. Don’t go higher than needed. The jack is for lifting, not for holding the car while you work indefinitely. Work efficiently once the car is raised.
Step 3, Mounting the Spare and Getting Back on the Road
Remove the lug nuts completely and set them somewhere safe, a cupholder or your pocket works fine. Pull the flat tire straight off and set it aside. Mount the spare by aligning the holes with the wheel studs and pushing it flush against the hub. Thread each lug nut on by hand first to avoid cross-threading, then snug them lightly in a star pattern. Lower the car fully to the ground before doing your final tighten; the vehicle’s weight needs to be on the tire for proper torque.
Getting Lug Nuts Right: The Part Most Beginners Skip
Why the Star Pattern Matters and How to Do It
Tightening lug nuts in a circle pulls the wheel on unevenly, which can cause wobbling at speed or seat the spare at a slight angle. The correct method is to tighten one nut, then skip to the one directly across from it, then move to the next and repeat. On a 5-lug wheel, this traces a star shape across the face of the wheel. It takes the same amount of time as going in a circle and makes a real difference in how securely the wheel seats.
How Tight Is Tight Enough, and the 50-Mile Recheck
Without a torque wrench roadside, the practical standard is: tighten firmly with your full arm strength until the nut stops moving. Snug, not stripped. Most passenger vehicles call for 70 to 90 ft-lb of torque, and many SUVs require 90 to 110 ft-lb. A torque wrench at home after the fact is the best way to confirm you’re in range, for recommended targets and proper technique, review Discount Tire’s wheel torque guide.
One step most drivers miss: drive 50 to 100 miles, then re-tighten the lug nuts. New wheel seating creates slight settling as the hardware wears in, which can cause minor loosening. One quick re-torque after your first short drive prevents a problem you’d otherwise never know was developing.
Mistakes That Trip Up Most First-Timers
The Timing and Placement Errors That Cause Real Damage
Loosening lug nuts while the car is on the ground is correct. Removing them while the car is jacked and the tire is off the ground is also fine. The mistake is trying to break the initial torque while the car is raised, because the wheel spins freely and you can’t get leverage. Loosen before lifting, remove after lifting.
Not fully engaging the parking brake before lifting is another common error. If the car rolls even a couple of inches, the jack tips. Wheel chocks give you a second layer of protection, but the parking brake is your first line. Use both.
What to Do If the Lug Nuts Won’t Budge
Factory lug wrenches are short, and short means less leverage. If a nut won’t break loose, place the wrench on the nut, step on it with your full body weight, and use a short bouncing motion. This applies enough force to break most factory-torqued nuts. Don’t use a pipe extension on a scissor jack wrench; that technique belongs on a torque wrench in a shop setting. Body weight is your tool here.
If the nut still won’t move after that, stop. Forcing a stuck lug nut without proper tools can strip the stud, which turns a $20 roadside fix into a several-hundred-dollar shop repair. That’s a legitimate moment to call roadside assistance instead.
The Donut Spare Mistake Nearly Everyone Makes
A temporary donut spare is rated for roughly 50 miles at no more than 50 mph. Driving it to work and then running errands for three days is a genuine safety risk. Get to a tire center the same day you use a donut. It’s not a full-size spare; treat it accordingly and plan your day around getting it replaced. For practical guidance on safe donut speeds and distances, read this how fast you can drive on a donut resource.
When to Skip the DIY and Call Roadside Assistance
Some situations make roadside tire changing too risky regardless of your skill level. Call for help if any of the following apply:
- You’re on a narrow highway shoulder at night with no safe workspace
- The car is on a slope or soft ground where the jack could shift
- You can’t identify the jack point and don’t have the owner’s manual
- Two tires are flat, or the spare is also flat or missing
In any of those situations, turn on your hazards, stay in the car if traffic is passing close, and wait for professional help. If you want another short, authoritative refresher on when to stop and let the pros handle it, see Allstate’s how to change a flat tire overview.
Most auto insurance policies include roadside assistance as an add-on, and it’s worth confirming yours does before you need it. Many newer vehicles come with a tire inflation sealant kit in the trunk instead of a spare; these work for small punctures and buy enough time to reach a shop. Knowing when not to DIY is as important as knowing how. An honest guide covers both sides of that line, and that’s exactly what you’ll find here at Qurabox.
You’re More Ready Than You Think
Here’s the core sequence one more time:
- Pull over safely and secure the car
- Loosen lug nuts before lifting
- Place the jack on the correct point
- Mount the spare and snug lug nuts in a star pattern
- Lower the car and do your final tighten
- Re-tighten again after 50 miles
That’s the whole process. First time feels awkward. Second time feels routine.
The most useful thing you can do right now, before you ever face a flat tire, is go check your spare tire’s pressure. If it’s at 20 PSI, this entire guide is useless when you need it. If it’s at 60 PSI, you’re actually prepared. That one step is what separates a stressful situation from a manageable one.
This tire change guide, no experience needed, gives you everything to go from nervous to confident in one roadside stop. Bookmark it now so it’s there when you need it. Qurabox has more guides in this format covering the practical tasks nobody formally teaches: How to Check Oil Level in Your Car: Full Step-by-Step Guide, How to Change Car Oil at Home (Step-by-Step Guide for Beginners, and a detailed walk-through on tire swaps: How to Change a Flat Tire (Step-by-Step Guide for Beginners 2026), Qurabox.