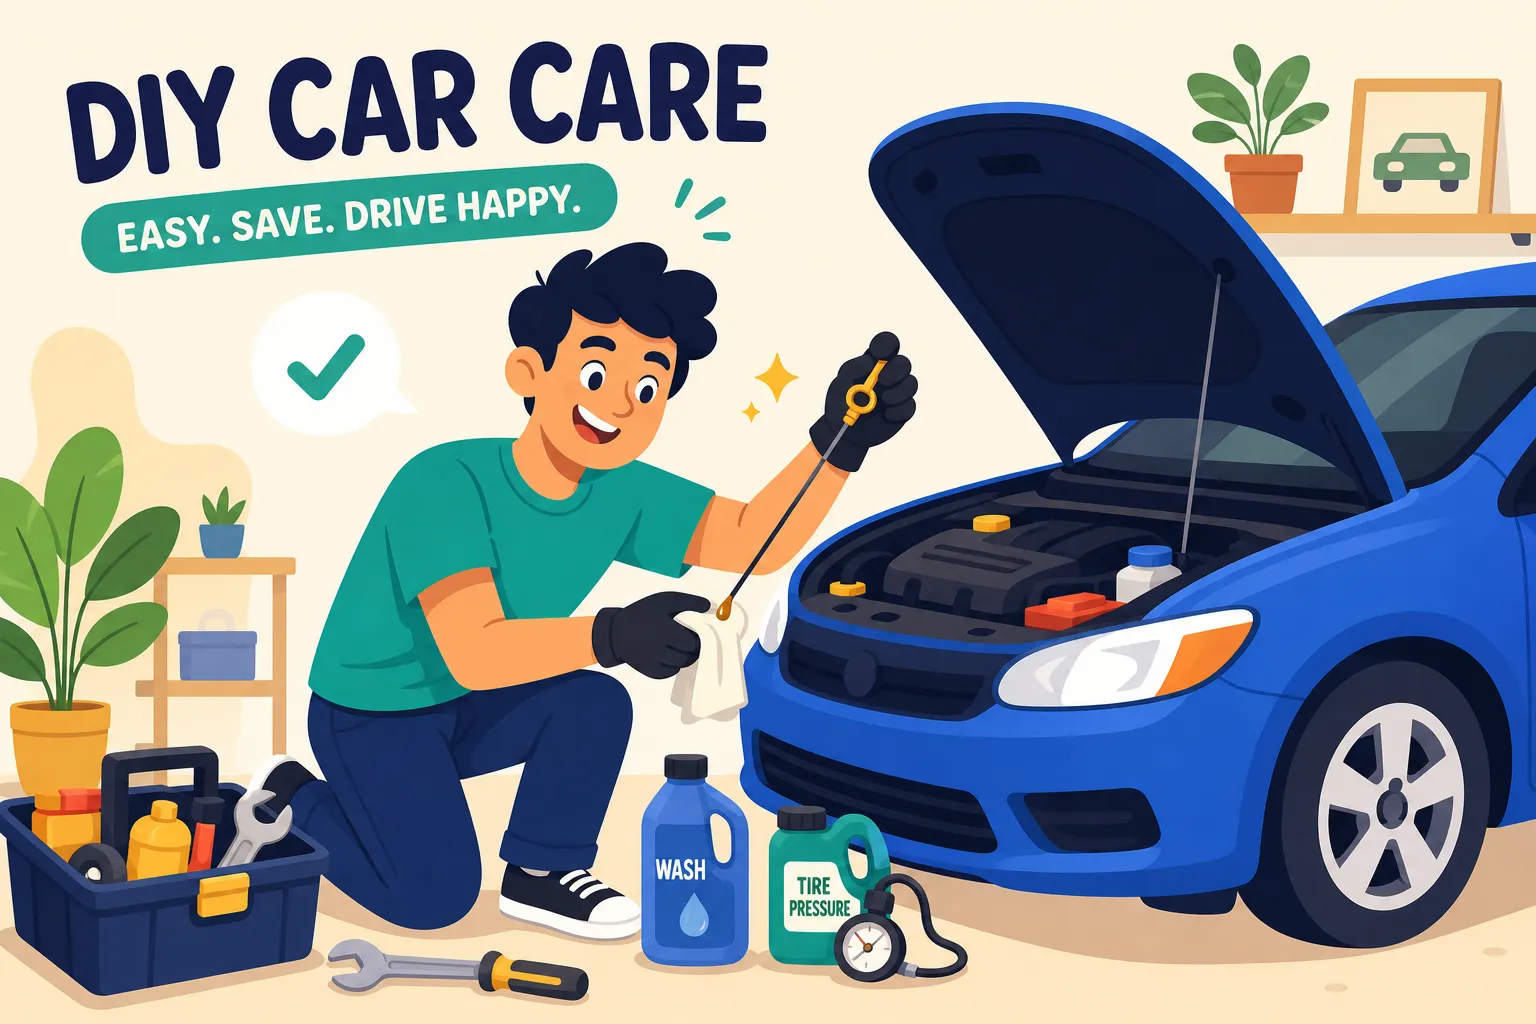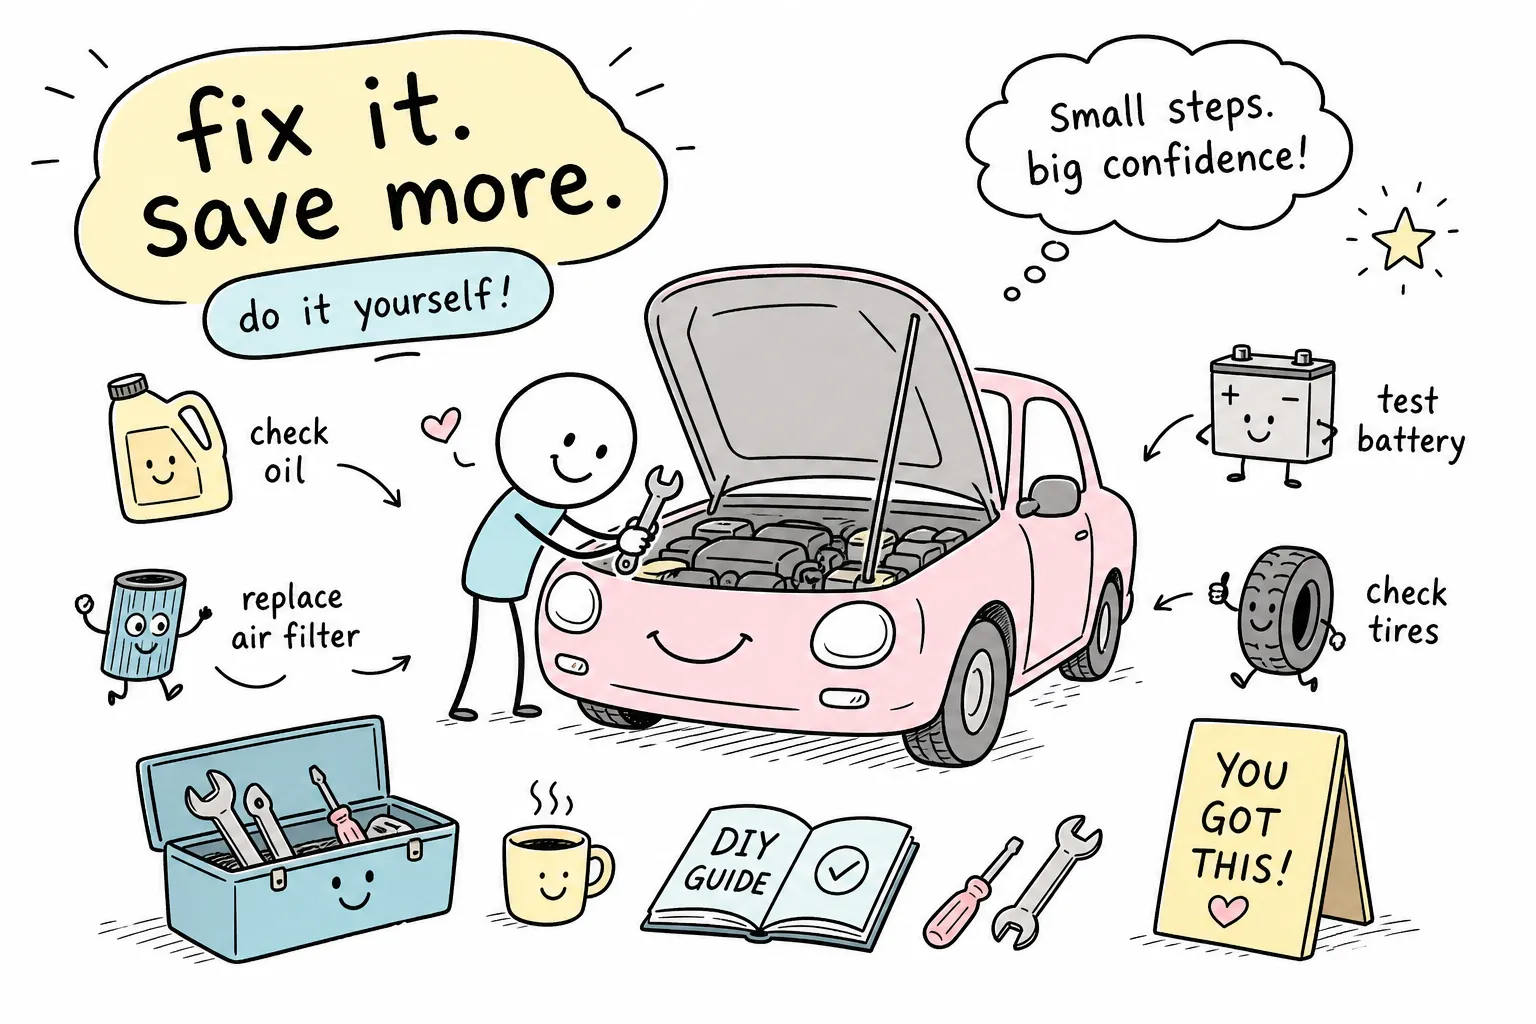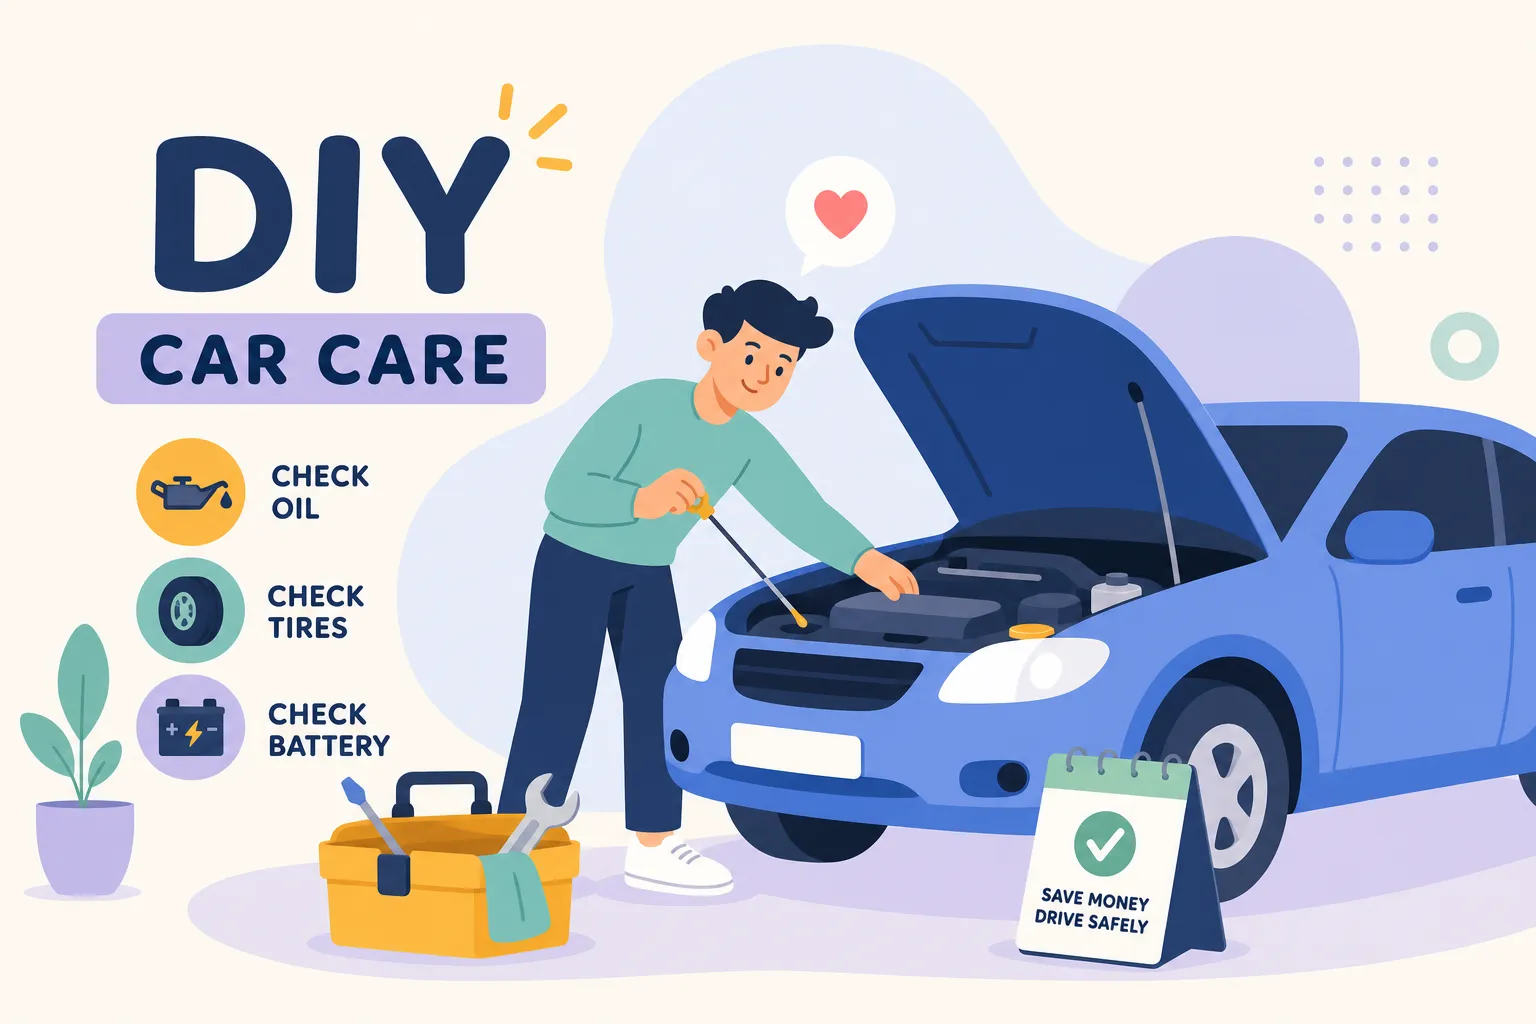
Learning how to maintain your car without a mechanic is more accessible than most drivers realize. Oil checks, air filter swaps, wiper replacements, tire pressure adjustments, these are not repairs. They’re basic maintenance tasks that require no lift, no formal training, and no $150 diagnostic fee. According to RepairPal, the average American spends close to $936 per year at repair shops for routine maintenance alone, and many of those visits involve jobs that belong at home, not in a service bay.
At-home car maintenance doesn’t mean becoming a gearhead. It means doing a set of straightforward tasks on a consistent schedule, knowing what to look for during a quick walk-around, and building a tool kit that pays for itself after a few oil changes. This guide covers all of it, the tasks, the tools, the schedule, and the specific warning signs that actually warrant a shop visit. Every task mentioned here also has its own step-by-step guide in the Qurabox DIY car maintenance library, so you can go as deep as you want on any individual job.
How to Maintain Your Car Without a Mechanic: Routine Tasks You Can Handle at Home
The core at-home maintenance tasks break down into two categories: fluid checks and simple replacements. Most take under 15 minutes, and the only cost is the product itself. No car lift, ramp, or special certification required, though for any job that involves getting under the vehicle, always use proper jack stands and confirm your approach in your owner’s manual before you start.
Fluid checks that take under 10 minutes
Engine oil is the most important fluid to monitor, and checking it takes less than five minutes. Park on level ground, shut off the engine, wait 10 to 20 minutes for the oil to drain back into the sump, pull the dipstick, wipe it clean, reinsert it fully, and pull it out again to read the level. If it’s between the low and full marks, you’re fine. If it’s below the low mark, add oil in small amounts and recheck. Low oil on a clean dipstick is normal; low oil that looks milky or gritty is a signal to take the car in.
Coolant should only be checked when the engine is cold, full stop. Never open a hot radiator cap. Find the translucent overflow reservoir, check the level against the MIN and MAX marks, and top off with the correct coolant mixture if needed. Brake fluid lives in the master cylinder reservoir under the hood; check it against the same MIN/MAX marks. A brake fluid level that keeps dropping after a top-off is never a coincidence. It signals a leak, and that car doesn’t move until a professional looks at it. Windshield washer fluid is the easiest check of all: open the reservoir, check the level visually, and fill it up.
Tires, lights, wipers, and air filters
Tire pressure is checked monthly, with cold tires, using the PSI spec on the driver-side door jamb, not the number stamped on the sidewall of the tire. Under-inflated tires wear unevenly, reduce fuel economy, and increase blowout risk. While you’re at the tires, run a quick visual inspection for cuts, bulges, and uneven tread wear. A coin inserted upside-down into the tread groove gives you a fast depth check; a tread depth gauge is even more precise. For step-by-step help changing a tire if you need it, see the Tire Change Guide for Beginners With Zero Experience, Qurabox.
Exterior lights take two minutes to verify: walk around the car with the lights on, and check brake lights by backing up near a wall or having someone stand behind the car. Wiper blades need replacement every 6 to 12 months, or whenever they streak and chatter. On most vehicles, both the engine air filter and cabin air filter are accessible without tools, the engine filter typically sits in a plastic housing near the top of the engine, and the cabin filter is usually behind the glove box. Check your owner’s manual to confirm accessibility for your specific make and model. Replacing both yourself can save tens of dollars in shop labor per visit.
Walk-Around Inspections Every Driver Should Know
A five-minute visual inspection done once a month catches problems before they turn into towing bills. The goal here is not to fix anything, it’s to know what healthy looks like so you recognize when something isn’t.
Checking brake pads and rotors without removing wheels
Shine a flashlight through the wheel spokes and look at the brake caliper where the pad presses against the rotor. A healthy pad has at least a quarter inch of friction material visible. If the pad looks paper-thin, or if the wear indicator groove has disappeared, the pads are due for replacement. You don’t need to remove the wheel for a basic inspection, though pulling the wheel gives you a much clearer view of the inner pad, which often wears faster than the outer.
Squealing during normal braking is an early warning. Grinding or growling means the pads are gone and metal is contacting metal, at that point, both the pads and rotors likely need replacement and the car goes straight to a shop.
Belts, hoses, and battery terminals under the hood
The serpentine belt runs across the front of the engine and drives the alternator, power steering pump, and AC compressor. Run a finger along it: cracks, glazing, fraying, or visible chunks missing mean it’s overdue for replacement. Coolant and vacuum hoses should feel firm, not spongy or soft, and shouldn’t show visible bulging or weeping fluid at the connection points. A hose that feels like a deflated balloon needs to come out before it fails on the highway.
Battery terminals are easy to inspect and easy to clean. White or blue powdery buildup around the terminal connections is corrosion, and it increases electrical resistance. A paste of baking soda and water, a wire brush, and a rag take care of minor corrosion in minutes. Loose terminal connections cause hard starts and unpredictable electrical behavior; tighten them if they move by hand.
How to Maintain Your Car Without a Mechanic: Building a Home Tool Kit
A functional beginner kit costs between $200 and $600, depending on quality. Most of it pays back quickly once you start handling your own oil changes and filter swaps rather than paying shop labor rates. The goal isn’t to buy everything at once, it’s to have what you need to handle the tasks covered in this article.
The tools that cover 90% of at-home jobs
A metric socket set with shallow and deep sockets is the foundation. Add a ratchet with a few extensions, a set of combination wrenches, flathead and Phillips screwdrivers in several sizes, and a pair of pliers including needle-nose. A torque wrench matters for anything involving lug nuts or critical fasteners, don’t skip it. A floor jack with rated jack stands rounds out the mechanical side. For a curated list of basic hand tools and shop necessities, check out AutoZone’s must-have tools.
On the diagnostic side, an OBD-II code reader is a must-have. The FIXD Bluetooth scanner is priced around $39.99 and translates fault codes into plain English with repair cost estimates inside an app, making it a solid starting point for anyone without mechanical experience. For comparisons and recommendations on scanners you might consider upgrading to, see this guide to the best OBD2 scanners. A basic multimeter for battery and electrical checks costs under $30. Together, those two tools eliminate a large chunk of “I have no idea what’s wrong” trips to the shop.
What a starter kit realistically costs
A $200 to $300 entry-level kit covers everything above using budget-brand tools from a hardware store or auto parts chain. Spend $400 to $600 and you get sturdier sockets, a reliable torque wrench, and a quality floor jack that won’t flex under load. Prioritize quality on the torque wrench and the jack, these are the two tools where cheap versions create real safety risks. Everything else can be budget-grade until you decide to upgrade.
A Basic Car Care Checklist and Schedule That’s Actually Easy to Follow
A list of tasks without a schedule is just noise. The goal here is a simple no-mechanic car maintenance framework that fits into the routine you already have, not one that requires planning a dedicated Saturday every month.
Checks to do monthly and at every fill-up
Tire pressure, oil level, washer fluid, and a quick exterior lights scan can all be done at the gas station in under five minutes. Checking tire pressure while you fill up is the simplest habit to build: the pump is right there, the tires are cold if you drove less than a mile to the station, and the door jamb spec takes ten seconds to read. This one habit alone reduces uneven tire wear and improves fuel economy. Oil and washer fluid take another two minutes at home before you leave for work.
Mileage-based intervals for filters and fluids
Use this as a reference point, then confirm against your owner’s manual since intervals vary by make and model:
- Engine oil: every 5,000 to 7,500 miles for most modern vehicles on conventional or synthetic blend oil
- Engine air filter: every 15,000 to 30,000 miles, sooner in dusty driving conditions
- Cabin air filter: every 15,000 to 30,000 miles or once a year
- Brake fluid: every two to three years regardless of mileage
- Transmission fluid: every 30,000 to 60,000 miles for most automatic transmissions
- Coolant: every 100,000 miles or five years for most modern long-life coolants
Your owner’s manual overrides all of these if there’s a conflict. Some manufacturers use extended-interval fluids that push these numbers out significantly; others flag shorter intervals for severe driving conditions like frequent towing or stop-and-go city traffic. For a straightforward checklist approach that complements this guidance, NPR published a helpful car maintenance checklist and tips you can keep in mind when building your routine.
Warning Signs That Mean It’s Time for a Professional
Knowing what you can handle at home is useful. Knowing when to stop and call a shop is more important. This isn’t about being overly cautious, it’s about understanding which failures carry consequences that make DIY risk not worth it.
Brake, steering, and overheating red flags
If you feel grinding or pulsing when you press the brake pedal, a soft pedal that sinks toward the floor, or the car pulling hard to one side under braking, those are shop visits, no exceptions. A visible brake fluid leak under the car adds urgency. The brake system is not the place to experiment when you’re still building confidence with basic maintenance. The consequences of getting it wrong are severe, and the tools required go beyond the beginner kit described above.
An overheating temperature gauge requires you to pull over immediately and shut off the engine. Continuing to drive risks warped cylinder heads and a repair bill measured in thousands, not hundreds. The same rule applies to a red oil pressure warning light: the engine needs oil pressure to function, and driving without it causes irreversible damage within minutes.
Dashboard lights and recurring fluid loss
A check engine light that comes on steady is worth scanning with your OBD-II reader before doing anything else. The code tells you whether the underlying issue is a loose gas cap or something that requires immediate attention. A flashing check engine light is a different story, that signals an active misfire or severe fault, and the car should not be driven until it’s diagnosed. For help decoding what dashboard indicators mean, this guide to dashboard warning lights is a practical reference. ABS and traction control lights indicate issues with the systems that help you maintain control in emergency situations; schedule an inspection within a few days rather than ignoring them.
Any fluid that keeps dropping after you top it off is leaking somewhere. This applies to oil, coolant, and brake fluid equally. A one-time low level that stays stable after topping off is normal. A level that drops again within a week means fluid is going somewhere it shouldn’t, and that car needs a professional inspection before you drive it further.
Your Next Step: The Qurabox Car Maintenance Guide Library
This article gives you the framework. The Qurabox library gives you the step-by-step execution for every task covered here. Each guide walks through a single job with a tools list, photos, and a section on common mistakes to avoid, so you’re not guessing when you’re standing in the driveway with a wrench in your hand. For an at-a-glance resource you can use on your phone, start with The Ultimate Car Care Checklist for Every Driver, Qurabox.
Task-specific guides for every job on this list
Fluid checks, air filter replacements, wiper blade swaps, tire pressure checks, battery terminal cleaning, and more all have their own dedicated guides at Qurabox. The format is consistent: here’s what you need, here’s what you do, here’s what can go wrong and how to avoid it. These aren’t general overviews, they’re the reference you pull up on your phone when you’re actually doing the task.
Pick one task and start this week
Choose something small. Checking tire pressure or topping off the washer fluid takes less time than the drive to a service station. Do it once, and the next one feels easier. Confidence with basic car care comes from repetition, not from reading every guide before you start. Qurabox is built to meet you wherever you are, whether that’s your first time opening a hood or your tenth DIY oil change. If you enjoy clear, room-by-room checklists for other household projects as well, you might also find the Beginner House Cleaning Checklist: Room-by-Room Guide, Qurabox useful for organizing errands and weekend tasks.
The Real Cost of Skipping Routine Maintenance
Knowing how to maintain your car without a mechanic is less about mechanical skill and more about consistency. Do the routine checks regularly, inspect proactively so small issues don’t become expensive ones, and recognize which situations belong in a shop. None of that requires years of experience, just a basic tool kit, a schedule, and a few minutes each month.
The math on skipping this adds up fast. At roughly $936 in average annual shop spending (per RepairPal), shifting even a handful of those routine visits to at-home maintenance can recoup the cost of a beginner tool kit within a year, depending on how many services you take on yourself. After that, the tools are paid off and the savings continue every time you handle a straightforward job on your own. Head to the Qurabox library, find the guide for whatever task you want to tackle first, and that’s how you start maintaining your car without a mechanic.