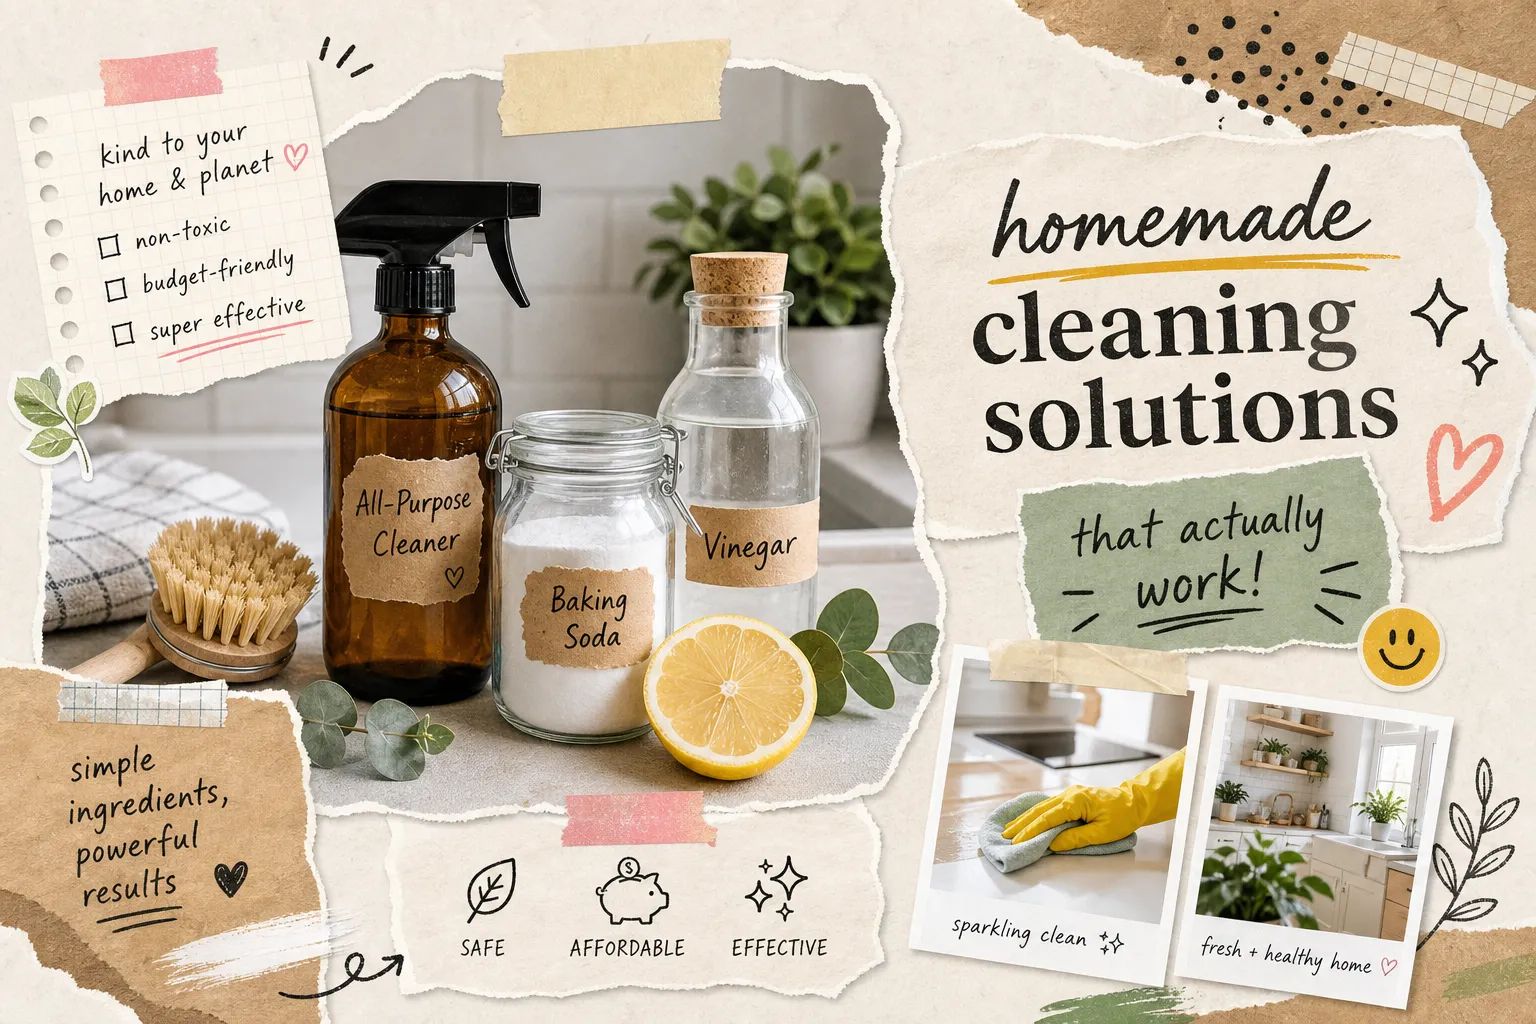
If you’re searching for the best homemade cleaning solutions that actually work in 2026, this guide cuts straight to what’s been tested, what ratios hold up, and which surfaces these cleaners can safely handle, and which ones they’ll quietly destroy. Most people making homemade cleaners are still working from a recipe someone pinned over a decade ago. It smells like lavender, it looks clean, but the actual grime isn’t going anywhere. The problem isn’t the idea of making your own cleaners. The problem is that most of those recipes were never tested against real soils, never matched to specific surfaces, and never explained why certain ingredients actually work.
At Qurabox, every home care guide gets a fresh look each year because what the research shows about natural cleaners has genuinely shifted. This guide focuses on what’s been tested, what the correct ratios actually are, and which surfaces you can safely use these cleaners on. You’ll find four proven recipes, a surface compatibility guide, a safety section on dangerous mixing combinations, and a straight answer on where DIY cleaning stops and real disinfection begins.
Why most DIY cleaning recipes floating around online don’t hold up
The vinegar-plus-baking-soda combo is everywhere online. Tutorials show it fizzing dramatically and frame that fizz as cleaning power. Chemically, though, those two ingredients largely neutralize each other when combined. The reaction produces mostly CO2, and the practical cleaning action in any formula comes from the acid, the surfactant, or the abrasive, the foam is just theater.
Beyond that specific myth, most viral DIY cleaning recipes list ingredients without ratios, without surface guidance, and without any documented test against actual soils like grease or soap scum. Some recipes have been evaluated by institutions like the Toxics Use Reduction Institute (TURI) against specific soils and compared to commercial products. Those are the ones worth making. Others are editorial recommendations that reflect experience and ingredient knowledge without formal testing. Both can be useful, but they aren’t the same, and you should know which type you’re working from before you stock your cleaning cabinet around it.
The 4 tested homemade cleaning solutions that actually work
The recipes below come from TURI lab testing or university extension research. Each one has a defined purpose, a correct ratio, and a clear use case. Make the one that matches the job you’re dealing with most often.
The recipes below come from TURI lab testing and extension work, so the proportions and use-cases reflect actual comparative tests rather than kitchen-table folklore.
1. All-purpose kitchen cleaner (TURI lab-tested, matches Formula 409)
Mix 2 cups of water with 2 tablespoons of castile soap and half a teaspoon of baking soda. TURI tested this formulation against Formula 409 All Purpose Cleaner and found comparable performance on dirt, films, and greasy kitchen soils. The castile soap does the heavy lifting here as the surfactant; the baking soda adds mild abrasion and helps with odor.
Apply it with a damp cloth, wipe the surface, then follow with a clean damp cloth to lift the thin soap film that stays behind. This cleaner works well on sealed laminate countertops, painted walls, cabinet fronts, and non-stone surfaces. It is not suitable for granite or natural stone.
2. Glass and mirror cleaner (TURI lab-tested for fingerprints and film)
Combine 1 cup of white vinegar with 1 cup of water. This is the most directly lab-validated recipe in the natural cleaner category. TURI tested it specifically against dirt, films, fingerprints, and soap residue on glass and chrome surfaces, and it performed well on all four soil types. For routine mirror and glass cleaning, this ratio is reliable.
One important note: this formula is for plain, uncoated glass only. If your windows or shower glass have a treated coating, use an ammonia-free commercial glass cleaner instead. Vinegar on treated glass can damage that coating over time.
3. Bathroom soap scum spray (University of Arkansas Extension)
Combine 3 tablespoons of white vinegar, half a teaspoon of washing soda, half a teaspoon of castile soap, and 2 cups of hot water. The University of Arkansas Extension labels this their “strong” bathroom cleaner. The washing soda raises the pH enough to cut through soap scum while the castile soap provides surfactant action. The vinegar contributes mild acidity and helps with mineral deposits.
Spray it on the surface and let it sit for one to two minutes before wiping. This dwell time matters more than scrubbing force, especially on built-up soap scum. This recipe is safe on porcelain, ceramic, and fiberglass tub surrounds.
4. Baking soda paste for stubborn grease
Mix 1 cup of baking soda with 1 tablespoon of dish soap and add just enough water to form a thick paste. The baking soda provides mild physical abrasion and the dish soap cuts through fat.
Apply it to the problem area and let it sit for five to ten minutes, then scrub gently and rinse completely. This paste works well on cooktop grime, oven spots, and stuck-on grease deposits on enamel and ceramic baking pans. Avoid using it on scratched or uncoated stainless steel, where the abrasive action can worsen surface damage.
Surface guide: where these eco-friendly cleaners are safe and where they cause real damage
A cleaner that works on one surface can permanently damage another. This is the part most DIY recipes skip entirely, and it’s where a lot of expensive countertops and floors get ruined by well-intentioned cleaning.
Granite and natural stone cannot tolerate vinegar or any acidic cleaner. The acid etches the surface and can break down the sealer permanently. Use a pH-neutral stone cleaner and a soft microfiber cloth instead. Quartz countertops carry similar warnings from manufacturers: vinegar and citrus-based cleaners can dull the surface finish and, over time, damage the resin binder that holds engineered stone together. Mild dish soap and water is the right call for quartz.
Sealed wood floors and furniture don’t mix well with vinegar either. The acid strips protective finishes over time and can leave surfaces cloudy. A barely damp microfiber cloth with a wood-safe cleaner is the correct approach. For grout, even though ceramic tile generally tolerates diluted vinegar, the grout between tiles is a different material entirely. Repeated acid exposure erodes grout slowly, which makes future staining and mildew buildup worse. Use a grout brush with mild detergent for grout lines specifically.
To keep it simple, here’s where each non-toxic DIY cleaner from this guide is safe to use:
- Castile soap all-purpose cleaner: sealed laminate, painted walls, non-stone countertops, cabinet fronts
- Vinegar and water glass cleaner: plain uncoated glass, chrome, ceramic tile surfaces (not grout lines)
- Bathroom soap scum spray: porcelain, ceramic, fiberglass tub surrounds
- Baking soda paste: stainless steel cooktops (rinse thoroughly), enamel, ceramic baking pans; avoid on scratched stainless surfaces
The mixing mistakes that turn cleaners into hazards
This isn’t generic safety filler. These combinations produce real toxic gases at room temperature, in spray bottles, and on kitchen counters. Knowing them is genuinely important.
Bleach plus vinegar produces chlorine gas. Even residue from a previous cleaner in a spray bottle is enough to create a reaction. Symptoms of exposure include coughing, burning eyes, and respiratory irritation. Bleach plus ammonia produces chloramine gas. Many commercial glass cleaners contain ammonia, which makes accidental sequential application a common exposure route. Bleach plus rubbing alcohol can form chloroform. This includes hand sanitizer left on a surface before a bleach product is applied, an easy mistake in any bathroom routine.
Hydrogen peroxide and vinegar deserve a separate warning. Combining these two in the same container forms peracetic acid, which is highly corrosive to skin, eyes, and airways. Using them separately on a surface in sequence is different from mixing them in a bottle, but even sequential application carries brief exposure risk. Keep them separate. The practical rule for bleach is straightforward: never mix it with anything unless the label explicitly confirms compatibility. If you’re switching cleaners on the same surface, rinse with water first before applying the next product.
Cleaning vs. disinfecting: knowing when a homemade solution isn’t enough
This distinction matters more than most home cleaning guides acknowledge. Cleaning removes dirt, grease, and some germs from a surface using soap or detergent and water. It reduces the number of germs but doesn’t reliably kill them. Disinfecting uses an EPA-registered product to kill germs after cleaning. The surface must stay wet for the full contact time listed on the label to work. These are two separate steps, not interchangeable actions.
For routine household upkeep, cleaning is usually sufficient. Disinfection matters most after a known illness exposure in the home or on high-touch surfaces during a health risk period. None of the four recipes in this guide are disinfectants. They are cleaning agents, which is exactly what most everyday household jobs require. But knowing the line matters when the situation calls for more.
The at-home formulas that do qualify as disinfectants are limited. Diluted household bleach, specifically about 5 tablespoons per gallon of room-temperature water using a product with 5% to 9% sodium hypochlorite, is CDC-recognized for home disinfection on compatible hard surfaces, with a minimum contact time of one minute. For the official recommendations and step-by-step instructions on properly mixing and using bleach for disinfection, see the CDC guidance on cleaning and disinfecting with bleach. Seventy percent isopropyl alcohol and 3% hydrogen peroxide can also disinfect some surfaces when applied correctly and allowed to remain wet for the required contact time. Make a fresh bleach solution each day since it loses effectiveness within 24 hours.
Should you add essential oils to your homemade cleaners?
Tea tree oil has the strongest published evidence for antimicrobial activity. Published laboratory studies show it inhibits common bacteria including Staphylococcus aureus and E. coli at concentrations as low as 0.25% to 1%, with activity observed against both standard and methicillin-resistant strains of S. aureus. Most of this evidence, however, comes from lab conditions or topical applications, not from studies of household surface disinfection at typical DIY concentrations. For a review of laboratory findings on tea tree oil’s antimicrobial effects, see relevant published analyses such as the one summarized in this paper on tea tree oil’s antimicrobial activity. Tea tree oil in a spray bottle is not a disinfectant substitute, even though the underlying chemistry is real.
Lavender oil and lemon oil don’t have strong published evidence supporting antimicrobial activity at household-safe concentrations. They add fragrance and are generally safe in small amounts, but they shouldn’t be treated as cleaning boosters or functional replacements for surfactants and acids. If you add essential oils to the recipes in this guide, do it for scent, not performance. A commonly used range is 15 to 20 drops of tea tree oil per 16-ounce spray bottle, or 10 to 15 drops of lemon or lavender for fragrance. Store all essential oil cleaners away from direct sunlight, and keep them out of reach of children and pets. Some oils are toxic to cats and dogs even in diluted household amounts.
The bottom line: homemade cleaning solutions that actually work in 2026
Four recipes with correct ratios, each tested against real soils. A surface compatibility guide that protects your countertops and floors from well-meaning mistakes, plus a clear breakdown of dangerous combinations and a straight answer on when cleaning is enough versus when you need an actual disinfectant. These are the tested DIY cleaning solutions that hold up because the formulas come from lab testing and extension research, not from a recipe that circulated on social media a decade ago.
Qurabox publishes updated home care guides across every category, from deep-cleaning your oven to floor maintenance routines, refreshed each year with current research and tested guidance. If you found this useful, the ultimate house cleaning routine and the guide on how to make a realistic home cleaning schedule are worth reading next.
Pick one recipe from this guide. Make a batch this week and test it on the surface that’s been frustrating you most. If you’re working in a small space, see our tips on how to organize a cleaning routine for a small home. That’s the fastest way to know if a cleaner actually works: use it on your specific problem and see what happens.