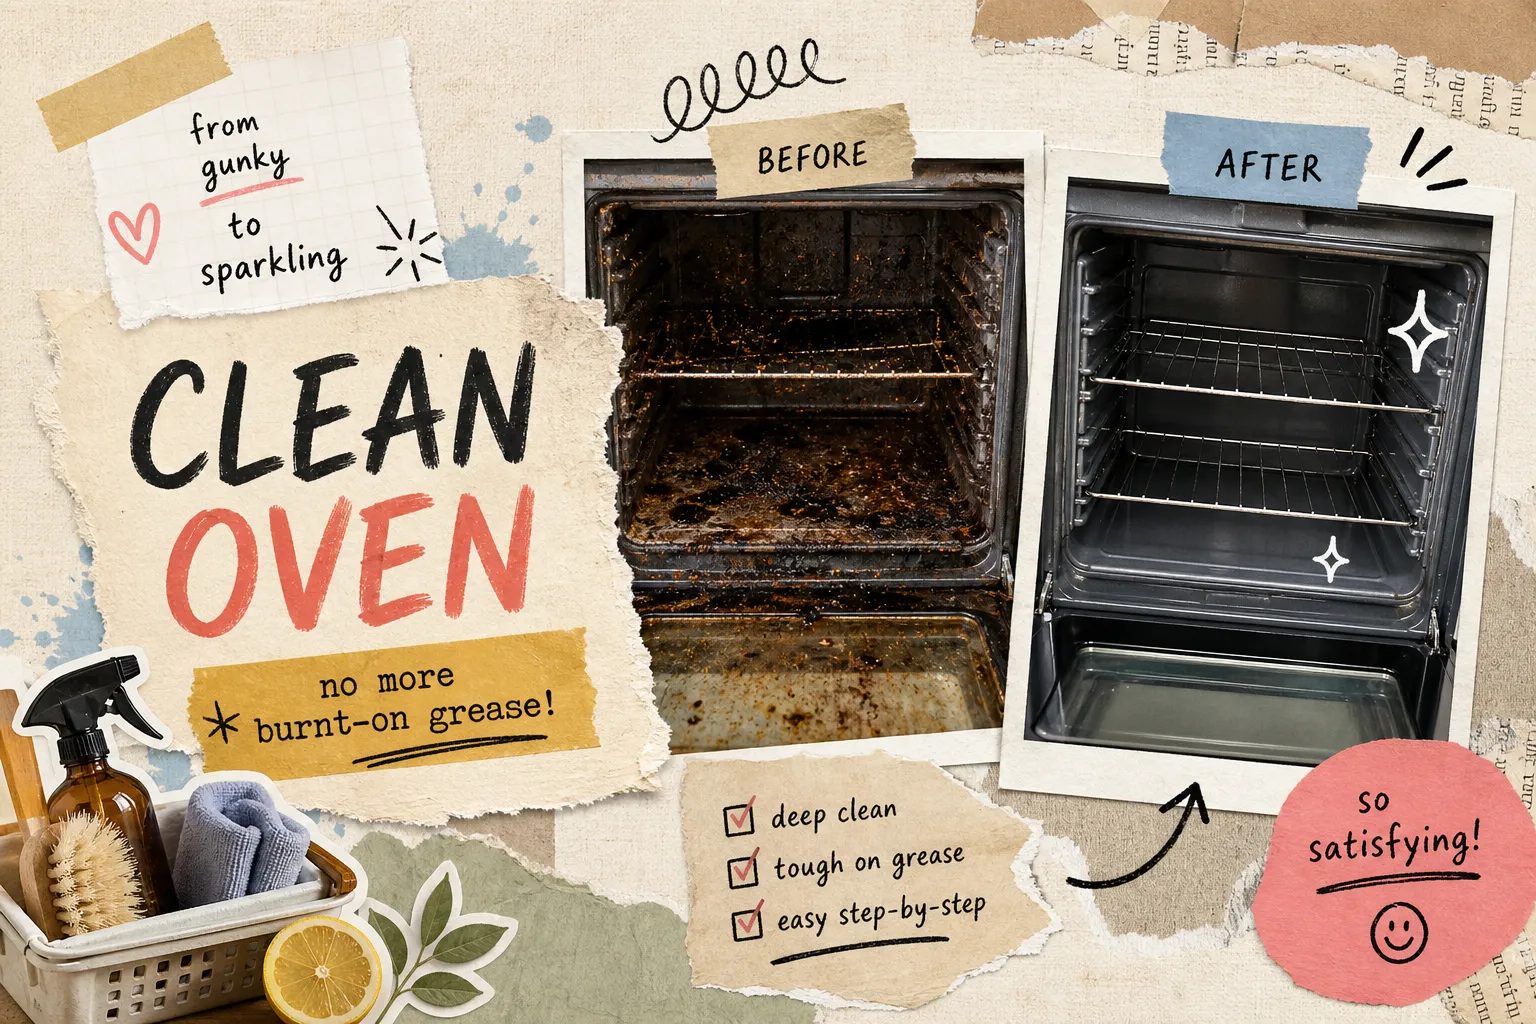
A grimy oven doesn’t just look bad, it makes your food taste like last week’s spill and fills your kitchen with smoke every time you preheat. Most people put off oven cleaning because they genuinely don’t know which method is worth their time or whether they have the right supplies on hand. If you’re wondering how to deep clean an oven safely and effectively, this guide covers four methods, the exact supplies you need for each, and a full walkthrough of every surface that matters, including the racks, door glass, and heating elements that most cleaning guides skip entirely.
At Qurabox, we’ve tested each of the major cleaning approaches on real ovens with real buildup, so you don’t have to guess your way through this. Before you open a single cabinet, take a minute to match the method to your situation, picking the right approach upfront can save you hours of rework and the frustration of a half-finished job.
The 4 methods for how to deep clean an oven (and which one fits your situation)
Not every oven or every level of grease buildup calls for the same approach. Matching the method to your actual situation is the difference between a clean oven and a half-finished mess.
Baking soda paste is the best starting point for most households. Mix 3/4 cup baking soda with 1/4 cup warm water until you get a thick, spreadable paste. The paste needs 8 to 12 hours to work, with overnight delivering the best results for moderate grease. Active work time runs about 20 to 40 minutes. Baking soda is generally considered safe for household cleaning, which makes it a practical choice if you have kids, pets, or sensitivities to chemical fumes, though it can irritate eyes and mucous membranes if mishandled, so gloves are still a good idea.
The self-clean cycle is the hands-off option for heavy carbon buildup. Cycle times vary across brands and soil settings, GE and Whirlpool models typically finish in 1.5 to 3 hours, while some models can run as long as 4.5 to 5 hours. Add cooldown time and you’re looking at a half-day commitment. The racks must come out before you run it.
Commercial chemical cleaners are the fastest option when you’re dealing with serious, baked-on grease. Brands like Easy-Off, Zep Heavy-Duty Degreaser, Goo Gone Oven and Grill Cleaner, and Astonish are all widely available. Hands-on time is 15 to 30 minutes, but dwell time varies from 5 minutes to 4 hours depending on how soiled the oven is. These require ventilation and protective gear.
Steam cleaning is a pre-treatment, not a standalone solution. It softens baked-on grime in 30 to 60 minutes, making scrubbing easier, but it won’t cut through heavy grease on its own. Use it to prep a stubborn oven before applying paste or a commercial cleaner.
Supplies to gather before you start
Running out of supplies mid-clean is the easiest way to do a half job. Pull everything together before the oven door opens.
For the baking soda method, you need:
- Baking soda
- White vinegar in a spray bottle
- Rubber gloves
- A mixing bowl
- A plastic scraper or non-scratch sponge
- Damp cloths or paper towels
- Old towels to line the bathtub (if your racks are heavily soiled)
For commercial cleaners, you need:
- The cleaner itself (confirm it’s rated for your oven type, enamel, self-cleaning lining, or stainless)
- Rubber gloves
- Eye protection
- Old newspapers or plastic sheeting to protect cabinet fronts and countertops from overspray
Never use commercial cleaner sprays near open flames or active pilot lights on a gas oven.
Step-by-step oven cleaning guide: the baking soda and vinegar deep clean
Baking soda paste is commonly effective for light-to-moderate soil and is a practical non-caustic starting point. It’s the method we recommend at Qurabox for anyone maintaining their oven two to four times a year, though how often you need it will depend on how heavily you cook.
Applying the paste and preparing your oven
Start with a completely cool oven. Remove the racks and knock out any loose crumbs. Mix your paste: 3/4 cup baking soda with 1/4 cup warm water, stirred until thick. Put on your gloves, then spread the paste across every interior surface, the bottom, sides, back wall, and the inside of the door. Apply a heavier coat directly over visible grease pools or dark carbon patches. Avoid the heating elements, any wiring, gas vents, and light fixtures.
Letting it sit and removing the dried paste
Leave the paste on for at least 8 hours. Overnight works best for moderate to heavy grease buildup; 12 to 24 hours is better for serious accumulation. The longer it sits, the more the baking soda breaks down and lifts the grease.
When you’re ready to clean, use a damp cloth to wipe away the dried paste, working from the back of the oven toward the door. Use a plastic scraper on thick, caked-on residue. Avoid metal scrapers on enamel surfaces, they scratch the finish and make future buildup worse.
The vinegar rinse: the step that makes the difference
After wiping out most of the paste, spray white vinegar across all interior surfaces. It will fizz wherever baking soda residue remains, and that reaction physically lifts the last traces of grime. Wipe the interior down with a clean damp cloth until no white residue is visible. If spots remain, repeat the spray-and-wipe cycle once more before considering the job done.
For further tips on using baking soda to deep-clean an oven, see this practical guide from Southern Living.
Cleaning the parts most people skip
Skipping the racks, door glass, or heating elements doesn’t just leave your oven looking incomplete. Residue on those surfaces is exactly what causes persistent smoke and odors the next time you cook.
Oven racks: the soak method that actually works
Never leave racks inside the oven during a self-clean cycle. The extreme heat strips the finish and can warp the metal permanently. Instead, line your bathtub with old towels to protect the surface, fill it with hot water and a few generous squirts of dish soap, and submerge the racks completely. Let them soak for 2 to 4 hours, this is dwell time, not active scrubbing time. After soaking, scrub with a non-scratch sponge, rinse thoroughly under running water, and dry completely before sliding them back in. Applying a baking soda paste directly to stubborn rack spots before soaking speeds up the process on heavily soiled racks.
For alternate rack-cleaning techniques and tips, check out this guide from The Kitchn.
How to deep clean an oven door glass
Use a non-abrasive cloth or soft sponge on oven door glass. Apply a thin baking soda paste, let it sit for 15 to 20 minutes, then wipe it clean with a damp cloth. Scouring pads scratch the glass and leave permanent marks.
Grime trapped between the double panes is a frustrating but common problem. Some oven doors have narrow slots at the bottom edge specifically for this; if yours does, insert a long thin tool with a damp microfiber cloth secured to the end, an unbent wire hanger works well. Check your oven manual first, since designs vary and some models allow partial door disassembly for better access.
Heating elements: keep them dry
Clean heating elements only when the oven is completely cool. Use a barely damp cloth to wipe loose residue from around the element, not directly on it. Never spray any cleaner directly onto a heating element. Moisture and abrasion both cause damage that can affect how evenly the element heats or, in serious cases, lead to element failure.
Using commercial cleaners and the self-clean cycle safely
Speed and heavy buildup sometimes call for stronger methods, and both work well when you follow the safety steps correctly.
Commercial cleaner safety and application
Always wear gloves and eye protection before you apply any commercial oven cleaner. Open windows and turn on the range hood before you start. Protect cabinet fronts and countertops from overspray using newspaper or plastic sheeting.
For authoritative safety guidance on handling oven cleaners and reducing exposure, see this resource from the Poison Control Center.
Many heavy-duty oven cleaners are strongly alkaline and can cause chemical burns on contact with skin and eyes, check the label or safety data sheet for exact active ingredients (common ones include potassium hydroxide and sodium hydroxide). Goo Gone uses a citrus-based formula and is gentler; Astonish offers a biodegradable option if you prefer to avoid caustic chemicals entirely.
Follow the dwell time on the label and don’t rush it. Goo Gone needs 3 to 5 minutes for light soil and up to an hour for tough buildup; dwell times for heavier-duty products can run from 30 minutes to 4 hours depending on soil level and the specific product, always defer to the manufacturer’s label instructions. Wipe all residue out completely before using the oven. Residual cleaner can produce fumes and unpleasant odors when heated, so rinse and wipe the interior thoroughly and ventilate the kitchen well after cleaning. Don’t cook until any chemical smell has fully dissipated.
Self-clean cycle best practices
Remove the racks before running the cycle, and wipe out any large debris or pooled grease first so it doesn’t smoke excessively during the burn-off phase. Open windows and run the range hood for the full duration of the cycle.
The process produces strong fumes, especially in the first 30 to 60 minutes. Treat it like any high-heat cleaning process. Keep children and pets out of the kitchen until the oven fully cools. Once the cycle finishes and the oven cools completely, wipe out the white ash residue with a damp cloth before you cook again.
For a technical overview of how self-cleaning ovens work and what to expect, Whirlpool provides a helpful explanation of the self-clean cycle.
Fixing common problems after a deep clean
Two complaints come up consistently after oven cleaning: stubborn carbon that survives the first pass and smoke or odors that linger. Both have straightforward fixes.
Stubborn burnt carbon that survives everything
Heavy carbon deposits sometimes need a second round. Apply a fresh baking soda paste coat directly to the problem area and leave it for a full 24 hours instead of the standard overnight. Follow with a plastic scraper and a vinegar rinse. For extreme cases, a targeted application of a heavy-duty commercial cleaner, with gloves, eye protection, and good ventilation, on just the affected spot for 1 to 4 hours (per label instructions) breaks down carbon that baking soda alone cannot lift. Work in small sections and wipe thoroughly after each application.
Smoke and lingering odors after cleaning
If the oven smokes the first time you use it after applying a commercial cleaner, residue is still present. Wipe the interior again with a damp cloth, then run the empty oven at 350°F for 20 minutes with windows open. A 50/50 water and white vinegar wipe before this step helps neutralize any remaining alkaline cleaner residue. After a self-clean cycle, white ash that wasn’t fully wiped out will smoke when the oven reheats. The fix is the same either way: wipe the interior thoroughly with a damp cloth once the oven fully cools before you cook anything.
Pick your method and do it this weekend
The decision comes down to your schedule and your soil level. Baking soda paste handles most household ovens without chemical exposure and works well as a routine maintenance clean. Commercial cleaners are the right call when grease buildup has progressed past what paste can tackle in a single overnight session. The self-clean cycle works for heavy carbon when you want a hands-off approach and have half a day to commit.
Don’t skip the racks, door glass, and heating elements. Those are the surfaces that bring back odors and smoke problems fastest. The active scrubbing time for each is well under an hour once the main interior is done, just account for soak time on the racks, which can run 2 to 4 hours on its own.
Knowing how to deep clean an oven from top to bottom means you only have to do it a few times a year. Block off the time this weekend, gather your supplies, and run through the method that fits your situation. Removing baked-on grease reduces smoke and off-odors that can affect food flavor, and it means your oven cooks more evenly without turning every dinner into a smoke show. For more guides in this format, head to Qurabox, see How to Deep Clean Your Oven: A Step-by-Step Guide, Qurabox, How to Clean a Microwave (2026): Easy Cleaning Methods, Burnt Food Removal, Odor Elimination, Deep Cleaning Steps & Maintenance Tip, and Best Way to Organize a Cleaning Routine for a Small Home, Qurabox. We cover kitchen maintenance and home care the same way: practical steps, no guesswork.