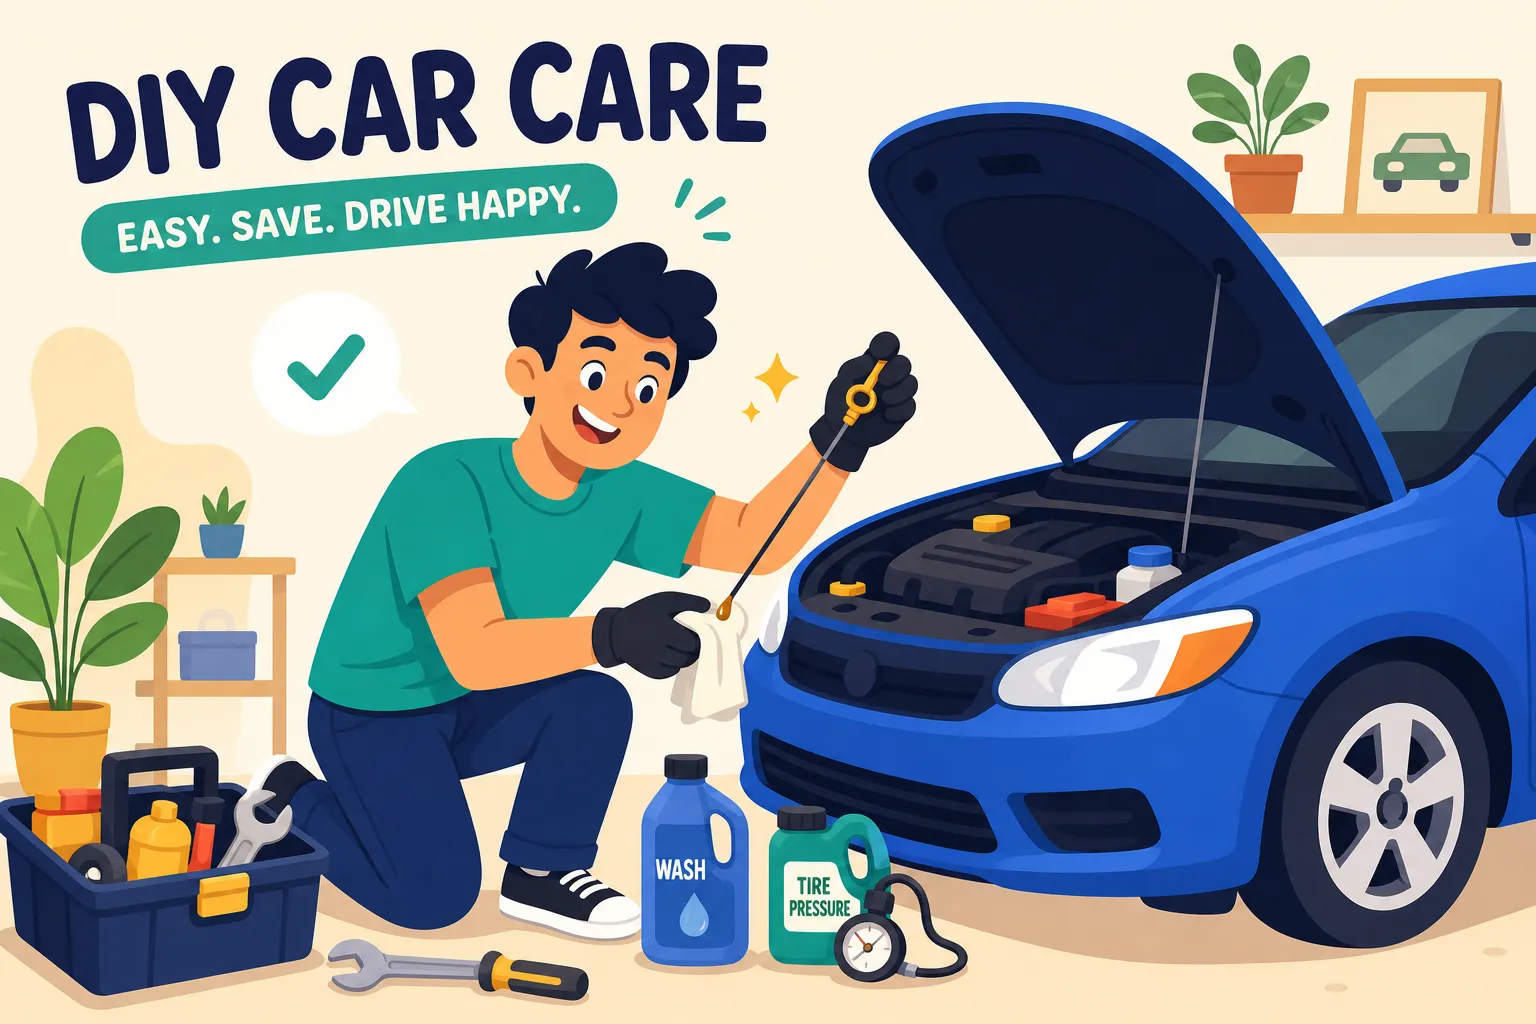
A flat tire can happen at the most inconvenient times — whether you’re on a long road trip, running errands, or just heading out for a quick drive. Knowing how to change a flat tire is an essential skill that every driver should master. This expert guide provides a clear, step-by-step explanation to help beginners change their tires confidently and safely. Whether you’re dealing with your first flat tire or need a refresher, this guide will walk you through the process with all the essential tools, tips, and common mistakes to avoid.
Why Is It Important to Know How to Change a Flat Tire?
Getting a flat tire is one of the most common car problems that drivers face. Over 300 million tires are discarded every year in the U.S. alone, according to the National Highway Traffic Safety Administration (NHTSA). While roadside assistance may seem like a convenient option, knowing how to change a flat tire yourself offers several benefits.
Time-Saving:
You can save precious time by handling the situation yourself. Instead of waiting an hour or more for roadside assistance to arrive, you can typically change a tire within 30 minutes, depending on your experience and available tools.
Money-Saving:
Roadside assistance services often come with fees for both labor and parts. By changing a tire yourself, you avoid paying for services you can easily handle.
Safety and Control:
Changing a tire puts you in control. This can be critical if you’re stranded in a remote location or on a busy highway, where waiting for assistance could pose a safety risk. Knowing how to change the tire properly also prevents damage to your car and minimizes the risk of accidents.
Confidence and Independence:
Mastering the art of changing a flat tire boosts your confidence as a driver. It gives you the independence to manage emergencies without panic and reduces your reliance on others.
In short, learning to change a flat tire is a practical skill that can save you time, money, and frustration, all while boosting your confidence and ensuring your safety on the road.
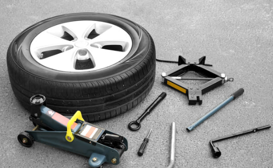
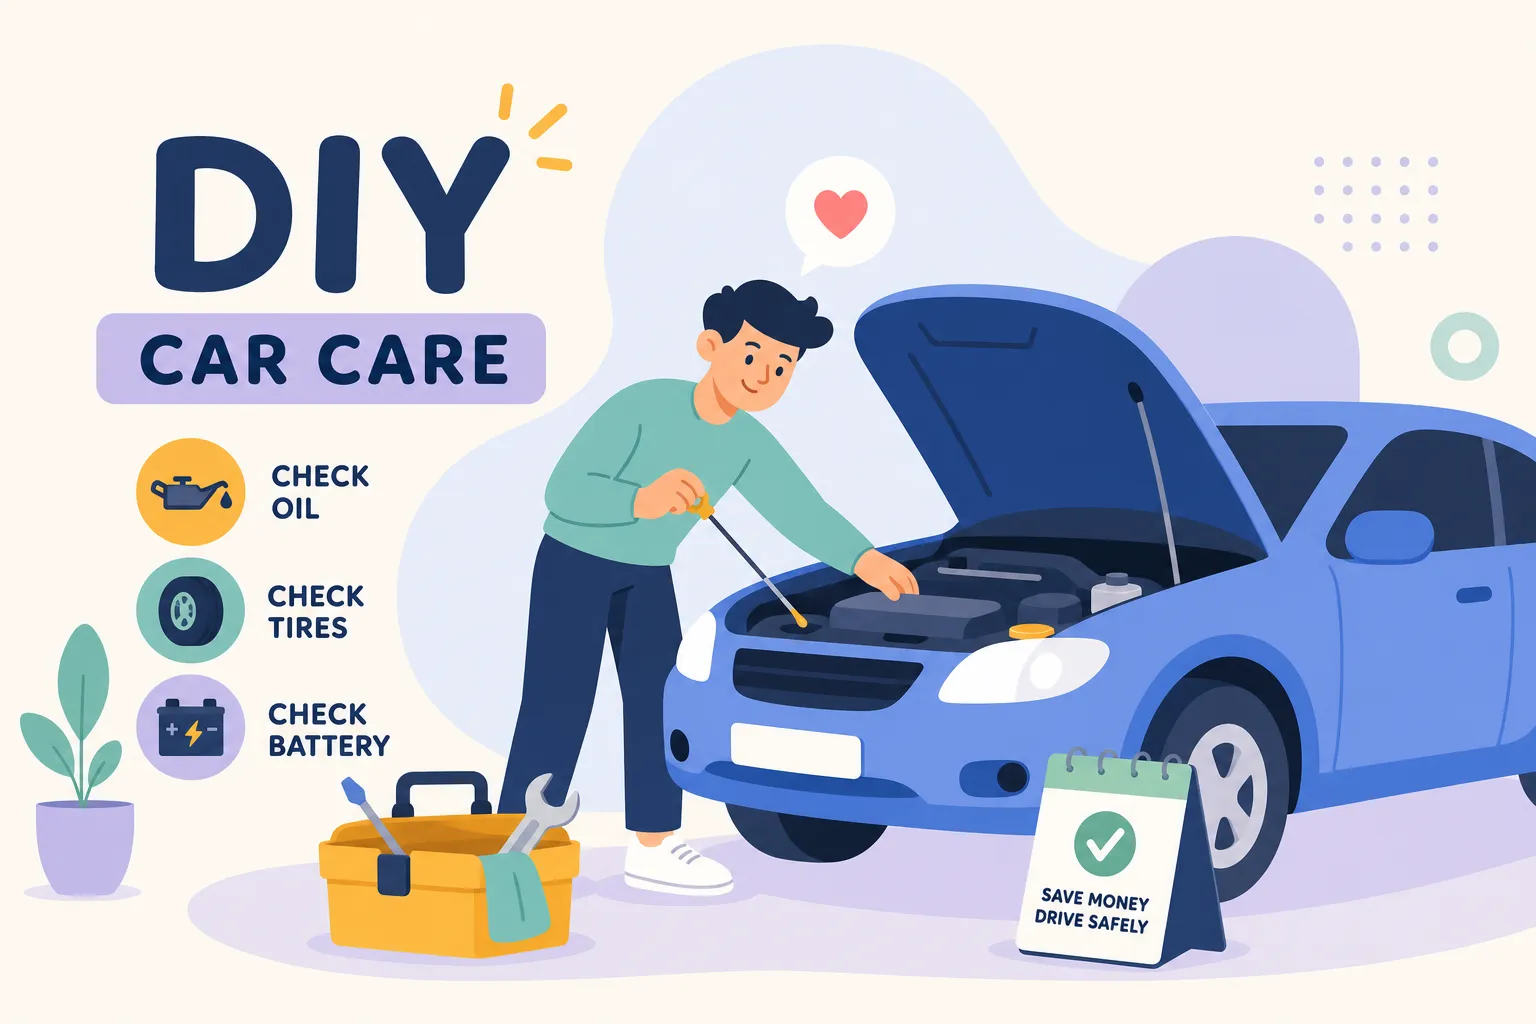
Tools and Equipment You Need to Change a Flat Tire
Before you start, it’s important to have all the right tools. While your car may come equipped with some of these items, it’s essential to regularly check their condition. Here’s what you’ll need:
Essential Tools
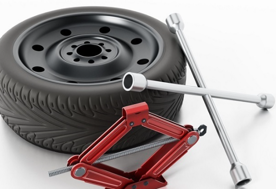
- Car Jack: A hydraulic or scissor jack used to lift your vehicle off the ground. Make sure it’s rated to support your vehicle’s weight.
- Lug Wrench (Tire Iron): The tool needed to loosen and tighten the lug nuts.
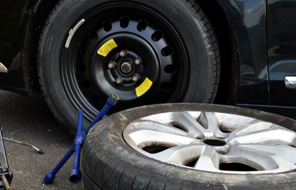
- Spare Tire: Ensure your spare tire is properly inflated and in good condition.
- Wheel Wedges (Chocks): These prevent the vehicle from rolling while you’re working.
- Gloves: Protect your hands from grease, dirt, and sharp objects.
- Flashlight (optional): Helpful if you’re changing the tire at night or in low-light conditions.
- Owner’s Manual: It’s always good to consult your vehicle’s manual for specific instructions and recommended jacking points.
Top 10 Steps to Change a Flat Tire
Stage 1: Preparing the Vehicle
Before you start, follow these steps to ensure your safety:
- Choose a Safe, Level Surface:
Find a stable, level spot to park your car. Avoid soft ground, gravel, or slopes where the car may roll. - Turn on Hazard Lights:
Activate your hazard lights to alert other drivers that your car is disabled. This is especially important on highways or busy streets. - Engage the Parking Brake:
Always engage the parking brake to ensure the car stays stationary while you work. - Place Wheel Wedges Behind Tires:
Place wheel wedges or chocks behind the tires on the opposite side of the flat to prevent the car from rolling.
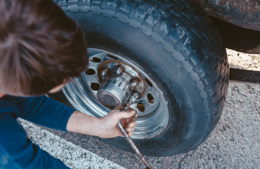
Step 2: Loosening the Lug Nuts
Loosen the lug nuts before lifting the car. This is easier to do while the tire is still on the ground.
- Use the Lug Wrench:
Place the lug wrench on the first lug nut and turn it counterclockwise. Apply force if necessary. - Loosen, But Don’t Remove Them Yet:
Loosen each lug nut about one-quarter turn to break their resistance. Keep the lug nuts on the tire so the wheel stays in place while the car is lifted.

Step 3: Lifting the Vehicle
Now that the lug nuts are loosened, it’s time to lift the car:
- Find the Jacking Point:
Refer to your owner’s manual for the recommended jacking point, which is usually located under the vehicle’s frame near the flat tire. - Place the Jack and Lift the Vehicle:
Position the jack under the jacking point, then turn the handle to raise the vehicle. Lift the car until the flat tire is at least 6 inches off the ground. - Ensure Stability:
Double-check that the jack is securely placed before proceeding. Never get under the car while it is on the jack.
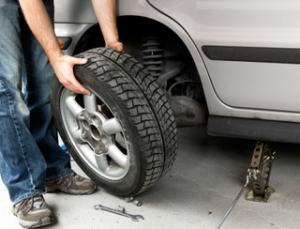
Step 4: Removing the Flat Tire
Now that the vehicle is elevated, it’s time to remove the flat tire:
- Finish Loosening the Lug Nuts:
Fully remove the loosened lug nuts using the wrench and place them in a safe location. - Remove the Flat Tire:
Gently pull the flat tire off the hub. If it’s stuck, tap it lightly with your foot to loosen it.
Step 5: Installing the Spare Tire
Now it’s time to install the spare tire:
- Align the Spare Tire:
Position the spare tire over the wheel bolts and carefully push it onto the wheel hub. - Hand-tighten the Lug Nuts:
Place the lug nuts back onto the wheel bolts and tighten them by hand to secure the spare tire.
Step 6: Lowering the Vehicle and Tightening the Lug Nuts

Now that the spare tire is on, it’s time to lower the vehicle and tighten the lug nuts:
- Slowly Lower the Car:
Carefully lower the car by releasing the jack until the spare tire is resting flat on the ground. - Tighten the Lug Nuts:
Tighten the lug nuts in a star pattern using the lug wrench. This ensures even pressure distribution. Tighten as much as you can. - Final Torque:
If available, use a torque wrench to tighten the lug nuts according to the car manufacturer’s specifications. This ensures the nuts are securely fastened.
Best Practices and Top Tips
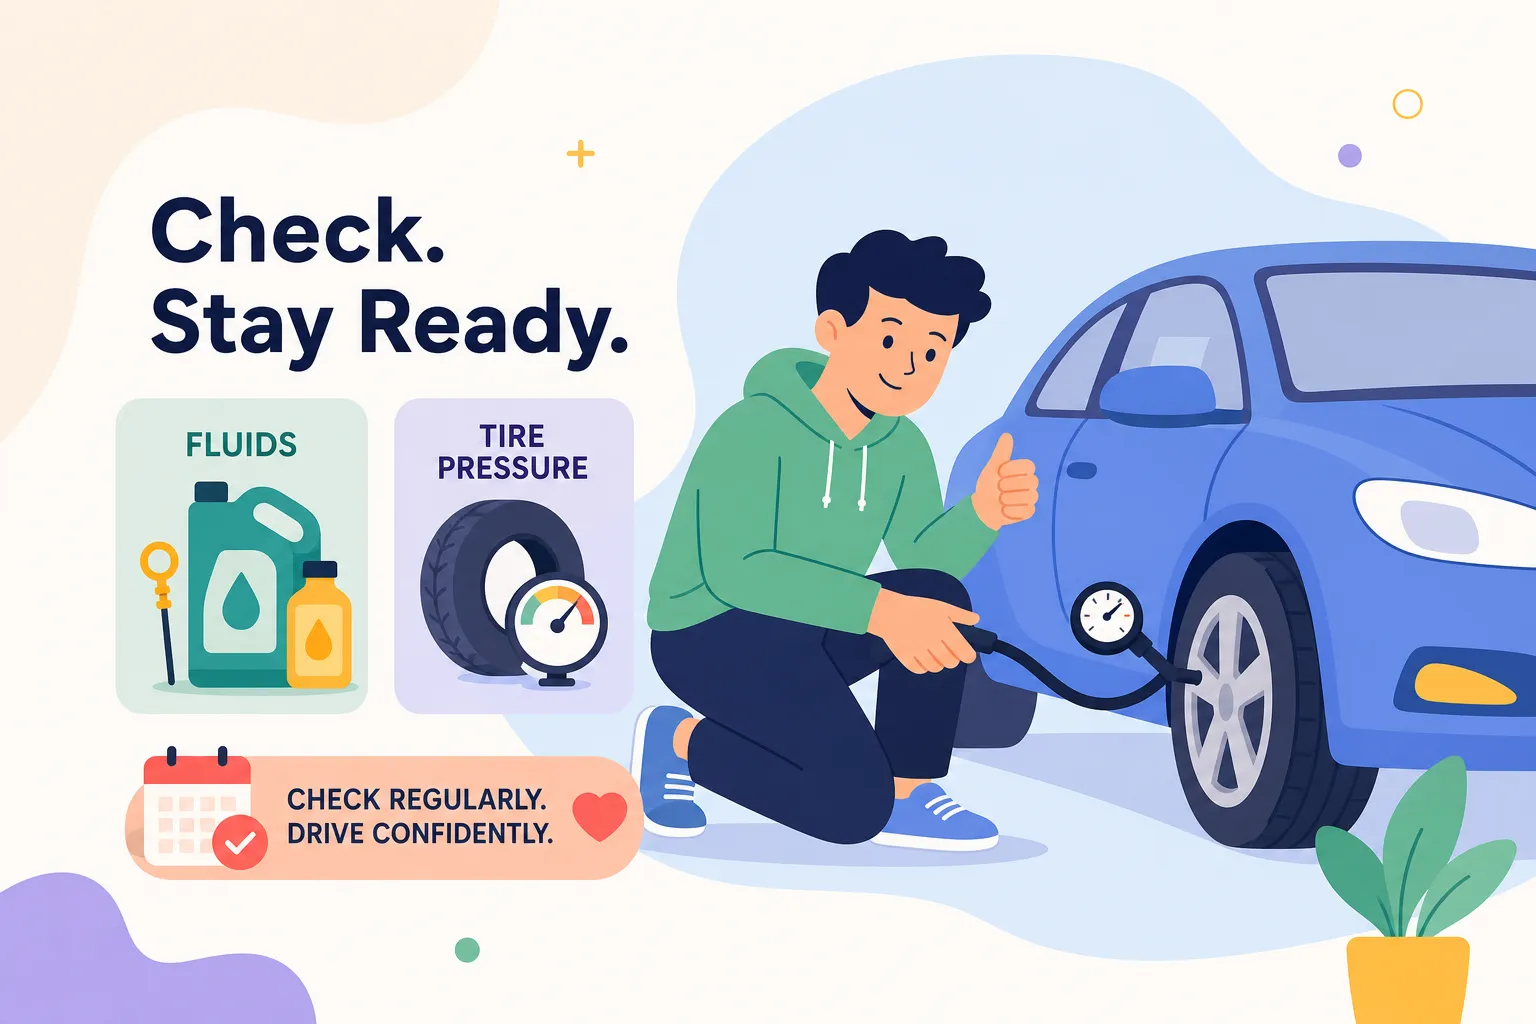
- Check Tire Pressure: Before driving, check the pressure of your spare tire. Low tire pressure can lead to accidents and further tire damage.
- Drive Carefully on a Spare Tire: Spare tires are temporary solutions. Avoid high speeds and long distances. Get your flat tire replaced as soon as possible.
- Store Your Tools Correctly: Always store your tools and the flat tire securely in your vehicle for future use.
- Inspect Your Spare Tire Regularly: Check the condition and pressure of your spare tire every few months to ensure it’s ready to use.

Common Mistakes to Avoid
- Not Loosening Lug Nuts Before Lifting the Car:
Always loosen the lug nuts while the tire is still on the ground to avoid unnecessary stress when the car is lifted. - Incorrect Jack Placement:
Always use the recommended jacking point. Incorrect placement can damage your vehicle or cause the jack to slip. - Improperly Tightening Lug Nuts:
Loose lug nuts can cause the tire to come off while driving. Tighten them securely in a star pattern for optimal balance.
Frequently Asked Questions (FAQ)
How long does it take to change a flat tire?
For beginners, changing a flat tire typically takes around 30-45 minutes, depending on tools and experience.
Can I change a flat tire by myself?
Yes, with the proper tools and instructions, anyone can change a flat tire.
What should I do if I don’t have a spare tire?
If your vehicle doesn’t have a spare, consider using a tire repair kit or inflator as a temporary solution, or contact roadside assistance.
How far can I drive on a spare tire?
Spare tires are temporary and should only be used for short distances (50-70 miles) and low speeds.
How can I tell if my spare tire is in good condition?
Inspect your spare tire for visible damage and ensure it’s properly inflated. Check it regularly to keep it road-ready.
Conclusion
Changing a flat tire is a valuable skill every driver should master. By following the steps in this guide, using the correct tools, and adhering to safety precautions, you can confidently handle flat tire emergencies. Regularly inspect your spare tire and tools, and always follow your car manufacturer’s guidelines for the best results.
Key Takeaways
- Regularly check your spare tire and tools.
- Loosen lug nuts before lifting the vehicle.
- Use the star pattern when tightening lug nuts.
- Drive carefully on a spare tire — it’s only a temporary solution.