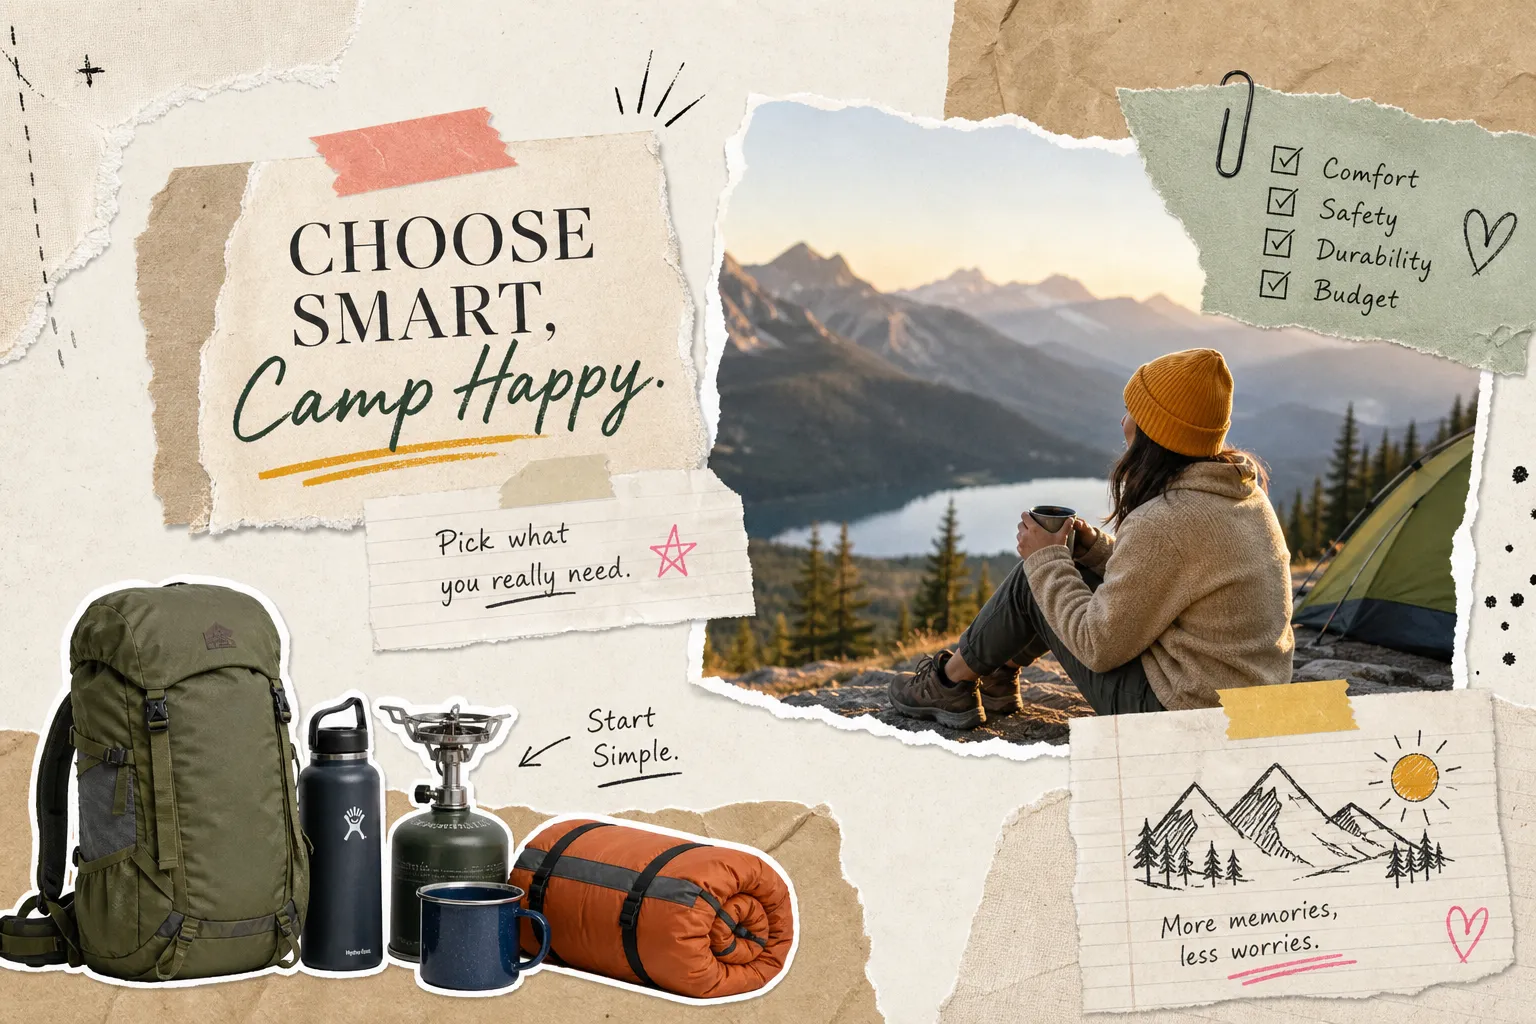
How do I know if I am buying the right camping equipment as a beginner? It’s the question most first-timers are quietly asking while scrolling through gear pages that assume you already know what a hydrostatic head rating is. Many beginners end up overspending on gear that doesn’t match their conditions or fails them on the first night. The problem isn’t that good gear doesn’t exist. The problem is that product pages can be confusing to beginners, and when you don’t know what to look for, you end up guessing. That guessing gets expensive fast.
Choosing the right camping equipment as a first-timer comes down to four things: knowing what to buy first, matching your tent and sleep gear to real seasonal conditions, understanding what quality looks like at each price point, and running a few simple checks before you leave the driveway. This beginner camping gear guide, put together by the team at Qurabox, covers all four so you can walk into your first trip confident instead of overloaded and underprepared.
How Do I Know If I Am Buying the Right Camping Equipment as a Beginner?
The shortest answer: start with the Big Three, match every piece of gear to your actual season and campsite conditions, and test everything at home before you load the car. The sections below show you exactly how to do that.
What to buy first before anything else
The “Big Three” that cover shelter, sleep, and safety
Your first camping budget should center on three items: a tent, a sleeping bag, and a sleeping pad. These are called the Big Three because they cover the non-negotiable needs of shelter, warmth, and insulation from the ground. A failed tent in a rainstorm or a sleeping bag that’s wrong for the temperature isn’t just uncomfortable. In cold or wet conditions, it becomes a safety issue. Everything else in your gear kit comes after these three are sorted. This is the foundation of any solid best starter camping gear strategy.
Gear you can borrow, rent, or skip on your first trip
Camp chairs, lanterns, and similar comfort extras don’t need to be purchased before your first trip. Most car campsites sell firewood, and friends who camp regularly almost always have extra gear sitting in storage. That said, a camp stove and basic cookware are genuine essentials if your campsite doesn’t have cooking facilities, confirm ahead of time before leaving these behind. Take one trip with borrowed non-essentials before investing in a full kit. That first trip will show you exactly what you actually used, which is almost always less than what you packed. If you’re unsure about safe firecraft, see our step-by-step How to Build a Campfire Safely: Step-by-Step Guide for Beginners (Very Easy) for basics on site selection, fuel, and extinguishing your fire.
The most overlooked essential beginners skip
The sleeping pad is the most underestimated item in beginner camping. Many first-timers put all their budget into a quality sleeping bag and buy a thin foam pad as an afterthought. Sleeping bags only insulate you from the air around you, they do nothing to block heat loss to the cold ground beneath you. Cold ground drains your body heat through the night regardless of how well-rated your bag is, which is why the pad is just as critical as the bag itself.
How to match a tent to your trip and campsite
Three-season vs. four-season: which one beginners actually need
A three-season tent handles the conditions you’ll face on the overwhelming majority of beginner camping trips: spring, summer, and fall. These tents are built with mesh panels for ventilation, a rain fly for weather protection, and enough structural integrity to handle moderate wind. A four-season tent is engineered specifically for winter camping, alpine conditions, sustained snow loads, and high-wind exposure. If you’re not planning winter camping in your first year, a three-season tent is the right call. It’s lighter, cooler in warm weather, and more forgiving for beginners to set up. For more on tent selection, pitching, and features to consider when choosing shelter, REI’s backpacking tent guide is a helpful resource.
Why tent capacity labels are misleading
A two-person tent is technically accurate if two people lie flat with zero gear inside. Add sleeping pads, bags, a backpack, and two full-grown adults, and that two-person rating suddenly reveals its limits. The standard rule is to size up by one: if two people are sleeping in the tent, buy a three-person model. For car camping, where weight isn’t a concern, the extra space is well worth the small price difference. For backpacking, where you’re carrying every ounce, a two-person tent works fine as long as you pack light.
Setup ease and campsite footprint
Freestanding tents, which stay upright without relying on stakes to hold their shape, are a practical starting point for beginners. Many first-timers find them easier to pitch, easier to reposition, and more forgiving on rocky or hard ground where staking is difficult. Practice your tent setup at home before the trip. Discovering a missing pole sleeve or a confusing clip system at 9 p.m. in a dark campsite is an avoidable problem. Some established campsites also have fixed tent pads with size restrictions, so check the tent’s floor dimensions against the campsite specs before you buy.
Sleeping bag ratings and pad R-values: what the numbers actually mean
How to read temperature ratings correctly
Sleeping bag tags display two main numbers based on ISO/EN lab testing standards: a Comfort rating and a Limit rating. The Comfort rating is the lowest temperature at which a cold sleeper stays warm through the night. The Limit rating is the lowest temperature a warm sleeper can tolerate while still sleeping. Brands sometimes emphasize Limit ratings on the packaging, which means cold sleepers can end up buying a bag that underestimates how cold they’ll feel. As a practical rule, buy a bag rated 5 to 10 degrees Fahrenheit below the coldest night temperature you expect on your trip. For a deeper explanation of how manufacturers present temperature ratings, see this decoding sleeping bag temperature ratings write-up.
R-values: why a great sleeping bag can still leave you freezing
R-value measures a sleeping pad’s resistance to heat transfer through the ground. The higher the number, the more effectively it blocks heat loss. For summer camping, an R-value between 1 and 3 is generally sufficient. For cold spring and fall nights, aim for R-3 to R-5. Winter camping typically calls for R-5 or higher, with R-5.5 and above recommended for very cold or snowy conditions. This is the number most beginners have never heard of before their first purchase, and it’s the one that makes or breaks a cold-night sleep more than any other spec on your gear list. If you’re wondering how high-R pads behave in warm weather or whether you should swap pads seasonally, read this discussion on using a high R-value sleeping pad in summer.
Treating your sleep gear as a system, not separate pieces
Your sleeping bag and sleeping pad don’t operate independently. A bag rated for 20°F paired with a low R-value pad on a cold night will still leave you cold, because the bag’s insulation can’t compensate for heat loss to the ground. Evaluate the two together. If your pad R-value is too low for the season, you need a warmer-rated bag to compensate. Adding a base layer to the equation can extend your comfort range further in marginal conditions.
What gear quality looks like at each price point
Budget gear (under $100 to $150): what holds up and what breaks
A sub-$100 tent can work for car camping in mild, dry conditions. What it typically won’t do is hold up in real rain, handle sustained wind, or last more than two or three seasons. Warning signs to check before buying: thin pole material with no gauge listed, single-wall construction without a separate rain fly, poorly finished zipper tracks, and no hydrostatic head rating on the rain fly fabric. By most outdoor gear standards, a 3,000mm hydrostatic head (HH) rating is a commonly cited minimum for rain fly waterproofing. Lower ratings may still perform depending on seam sealing and tent design, but they are more likely to leak in heavy rain.
The midrange sweet spot for first-time buyers ($150 to $300)
Midrange is where most beginners get the best value relative to what they spend. A $150 to $300 tent holds up to real weather, handles multiple seasons reliably, and uses better pole construction than budget alternatives. A $100 to $250 sleeping bag covers most three-season conditions with proper insulation and durable zipper hardware. For someone camping three to six times per year, midrange gear across all three Big Three categories is the right investment. You’re not paying premium prices for weight savings or extreme performance you won’t need yet.
When spending more is worth it (and when it isn’t)
Premium gear at $300 or more for a tent or sleeping bag earns its price in two areas: significant weight reduction and performance in extreme conditions. Neither of those advantages matters much if you’re driving to a campsite and sleeping at 45°F. The gear your camping trip actually needs is the gear that performs reliably at the conditions you’ll face, not the conditions on the most challenging trip someone else has ever taken. Calibrate your spending to your actual use case before letting gear review sites push you toward a premium kit you won’t fully use.
Red flags and questions to ask before you buy
Five red flags that signal low-quality camping gear
These are specific warning signs you can check before purchasing, whether you’re shopping online or in a store:
- No published temperature rating on a sleeping bag, or no season rating on a tent
- Tent capacity listed without floor dimensions
- Rain fly with no waterproof rating listed (3,000mm HH is a common minimum benchmark)
- Pole material described only as “aluminum” with no gauge or grade specified
- Multiple reviews mentioning condensation inside the tent during light rain
Any one of these flags warrants looking at a different product. Combined, they indicate a manufacturer cutting corners on the specs that matter most in real conditions.
Questions every beginner should ask before clicking “add to cart”
Five questions narrow nearly every gear decision before you spend a dollar: What is the lowest temperature you expect to camp in? Are you car camping or backpacking? How many people plus gear need to fit in the tent? Are you a cold sleeper or a warm sleeper? Does the tent come with a rain fly that has a published waterproof rating? These aren’t complicated questions, but most beginners skip them entirely and shop by price or star rating instead. Working through these answers first means you’re buying gear that fits your actual trip, not someone else’s.
Common first-timer buying mistakes and how to avoid them
The most repeated mistakes follow a clear pattern: buying the cheapest option across every category at once, overbuying accessories before knowing what you’ll actually use, choosing gear based on ideal conditions instead of expected ones, and never testing anything before arriving at the campsite. Each of these is avoidable with a simple pre-purchase process. Start with a short essentials checklist, fill in only the Big Three before your first trip, match every piece of gear to your specific season and campsite type, and test everything at home before you load the car. For printable packing lists and a quick run-through of must-have items, see this essential camping checklist and KOA’s must-have gear items for first-time campers.
Quick tests to run before your first camping trip
The backyard setup test every beginner should do
Set up your tent in the backyard before your trip. Time yourself from opening the bag to staking the last corner. Look for missing components, unclear pole routing, zipper tracks that snag, or a rain fly that doesn’t seat correctly over the frame. This test reliably surfaces problems that product pages and unboxing videos don’t show. While you’re at it, inflate your sleeping pad and leave it fully inflated long enough to detect any slow leaks, 30 minutes is a practical rule of thumb. A slow leak in the backyard is an inconvenience; a slow leak at 2 a.m. on hard campsite ground is a ruined night.
Gear checks that catch problems product pages don’t warn you about
Run your sleeping bag zipper from bottom to top and back down before your trip. Check that tent seams are taped or factory-sealed. Confirm your sleeping pad R-value matches the season you’re actually camping in, not just the general season range listed on the campground’s booking page, which reflects weather windows rather than thermal performance specs. Check headlamp battery freshness, especially if the light has been sitting in a drawer. Finally, lay your sleeping bag on top of your pad and evaluate them together. If the pad R-value is too low for the expected overnight low, that’s the moment to make a change, before the trip, not after.
Making confident gear decisions before your first trip
Your beginner camping gear checklist: the Big Three and the checks that matter
- Tent: Three-season, freestanding, sized up by one from your headcount, with a 3,000mm HH rain fly rating
- Sleeping bag: Rated 5, 10°F below your expected overnight low, with both Comfort and Limit ratings listed
- Sleeping pad: R-value matched to your season (R-1, 3 for summer, R-3, 5 for fall, R-5+ for winter)
- Pre-trip test: Full tent setup at home, pad leak check, zipper test, seam inspection
- Pre-purchase questions: Lowest temp, camping style, tent occupancy, sleeper type, rain fly rating
The four decisions this guide covered are the ones that matter most: prioritizing the Big Three before anything else, matching your tent and sleep system to real temperature and season conditions, understanding what quality looks like at each price tier, and running simple home tests that catch problems before your first night out. The sleep system relationship between your bag and pad is the most important technical concept to carry forward. Get those two pieces right for your season, and the rest of your kit will fall into place.
If you’re still asking yourself how do I know if I am buying the right camping equipment as a beginner, start here: identify your campsite type and your expected overnight low, work through the Big Three using this guide, and test everything at home before you leave. Qurabox publishes practical how-to guides on camping prep, gear decisions, and first-time trip planning to help you make confident calls without wading through gear-list padding. For other step-by-step procedural guides from our site, see our articles on How to Change a Flat Tire (Step-by-Step Guide for Beginners 2026), Qurabox and even non-camping beginner guides like How to Start Surfing for Beginners in 2026 Easy Step-by-Step Guide. Use the checklist above to build your kit and your first trip will be a lot more comfortable than it would have been otherwise.