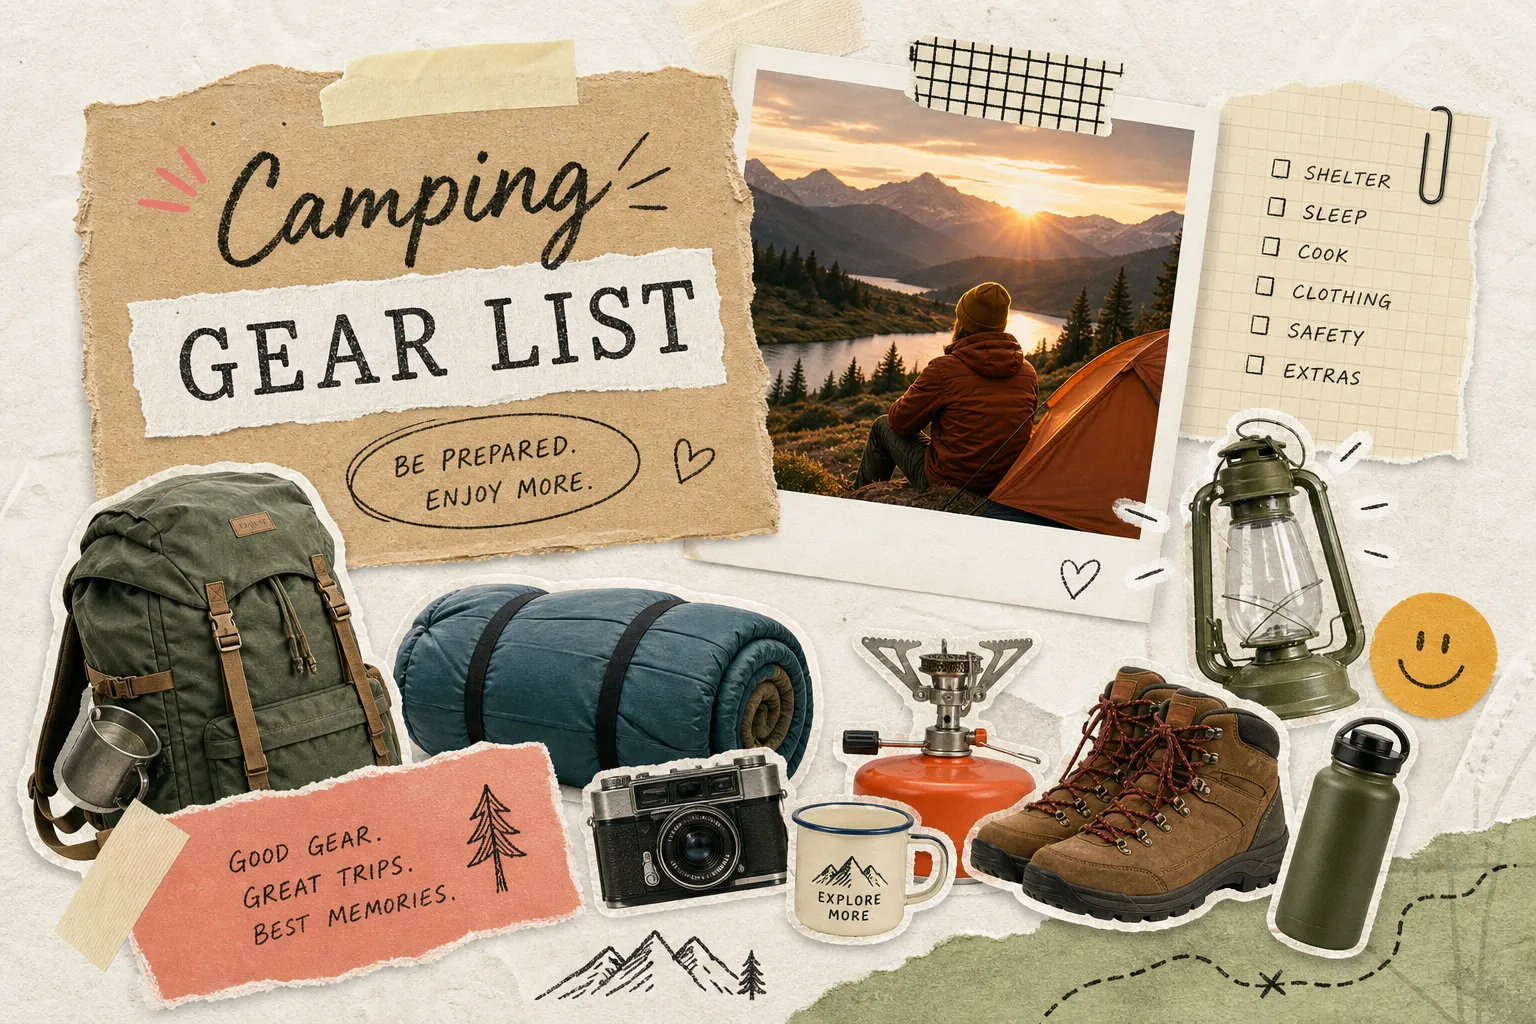
Every experienced camper has a story about the trip that taught them what actually belongs in a pack. Someone forgot a sleeping pad and spent three nights on cold, hard ground. Someone else hauled two cast iron pans to a site eight miles from the trailhead. A first-timer showed up to a pitch-black campsite with no headlamp and a phone at 12% battery. These aren’t cautionary tales about inexperience. They’re what happens when you build a camping gear list without a clear framework first.
A complete camping gear list isn’t about fitting everything into one bag. It’s about knowing which version of each item belongs on your specific trip before you start packing. This article breaks that down across four categories: shelter and sleep, camp kitchen, safety, and clothing. Whether you’re setting up a car camping base camp or heading out on your first backpacking trip, you’ll leave with a prioritized, trip-specific list you can actually use. If you’re brand new to the outdoors, Qurabox’s outdoor beginner library covers everything from campsite selection to gear care in the same practical, step-by-step format you’ll find here.
Car camping vs. backpacking: why your gear list starts with this question
Before you buy or borrow a single piece of gear, you need to answer one question: will you carry everything on your back, or will your car do the heavy lifting? Car camping and backpacking share the same core categories, but they differ completely in which version of each item makes sense. Getting this wrong is how people end up either miserable under a very heavy pack or frustrated by an overstuffed trunk with no room for passengers.
What car camping allows you to bring
Car camping largely removes typical pack weight constraints, which means comfort-focused versions of every category are fair game: an air mattress instead of a foam pad, a two-burner propane stove instead of a canister stove, a full-size cooler, camp chairs, and labeled storage bins that make setup and breakdown fast. More gear doesn’t automatically mean a better trip, but the flexibility is genuinely there. Use it where it improves your experience, and skip the extras that just add clutter.
How backpacking changes the calculation
Every item in a backpacking gear list has to justify its weight. A widely accepted rule of thumb among backpacking communities puts the base weight target for first-timers at 10 to 15 pounds, with 10 pounds considered a solid benchmark for a well-optimized setup. That constraint pushes you toward the lightest workable version of each essential and forces you to choose multi-use gear over specialized items. A titanium pot that also serves as a bowl matters more than a dedicated coffee mug when every ounce counts.
The one question to ask before you start packing
Run every item through this filter: “Will I carry this on my back, or will my car carry it?” If it’s the car, comfort and convenience are reasonable priorities. If it’s your back, weight and packability come first. This single question shapes every decision in the four sections that follow.
Shelter and sleep: the camping essentials that make or break your night
A bad night of sleep ruins a camping trip faster than bad weather or bad food. Shelter and sleep system decisions have more impact on trip quality than almost any other category, and they’re also where beginners tend to either overspend or pick specs that don’t match their conditions.
Choosing the right tent for your trip and budget
For most US camping through spring, summer, and fall, a 3-season tent is all you need. These shelters handle basic downpours and wind while keeping interior airflow comfortable in warmer months (see a detailed comparison of 3-season vs 4-season tents). For backpacking solos, target a tent in the 2 to 2.5-pound range; the Big Agnes Fly Creek UL1 class represents what’s achievable at around 2 pounds. For two people, a tent near 3 pounds is an efficient benchmark, with the Big Agnes Copper Spur UL2 being a well-tested example in that category. If you want a deeper resource on the best backpacking tents and how they perform in real conditions, that guide is a useful next read. Car camping beginners don’t need to spend more than $90 to $150: the Kelty Discovery Basecamp 4 and Cedar Ridge Cypress 4 both come in under that range and cover frontcountry campground use well.
Sleeping bags and pads: matching ratings to conditions
A 20°F-rated sleeping bag handles most 3-season nights across the US, leaving buffer room for unexpected cold snaps. For car camping, synthetic fill is more forgiving in damp conditions and costs less upfront. For backpacking, down compresses into a smaller stuff sack, which matters when space is limited.
On sleeping pads, beginners often underinvest here, and that’s a mistake. Cold ground conducts heat away from your body more rapidly than cold air, which is why a quality sleeping pad is essential, not optional. The Therm-a-Rest Z-lite foam pad weighs about 10 ounces and costs significantly less than most inflatable alternatives, making it one of the best-value picks in any camping gear kit.
What beginner campers overspend on first
The most common mistake is buying overbuilt 4-season gear for trips that will never see winter conditions. A $120 to $180 3-season tent handles the vast majority of camping in the US without issue, mid-range options from brands like REI Co-op and Kelty land squarely in that window. The priority spend should go to a quality sleeping pad first: sleeping cold from the ground up is what wakes people at 2 a.m. and ends early camping enthusiasm fast.
Camp kitchen camping gear list: cooking, water, and cleanup
A functional camp kitchen for two doesn’t require a dedicated trailer or a full set of pots. The goal is a compact, nested kit that covers real cooking without taking up unnecessary space or weight.
Stoves and cookware: the setup that fits your style
For car camping, a two-burner propane stove opens up real cooking flexibility: actual meals, not just boiled water. For backpacking or minimalist tent camping, a canister stove paired with a 1.1 to 1.5-liter titanium or hard-anodized aluminum pot covers two people for a full weekend. The ideal setup has the stove, a 110-gram fuel canister, two sporks, and a lighter all nested inside the pot so the whole kitchen packs as one compact unit.
One 110-gram canister typically provides enough fuel for a long weekend of boil-only meals for two. Cold temperatures and wind reduce efficiency, so bringing a backup canister on longer trips is a smart call.
Water treatment: three options ranked by simplicity
Beginners at established campgrounds often don’t need a filter at all if clean water is available on-site. For backpackers and anyone camping near natural water sources, three options cover most situations. Chemical treatment drops like Aquamira are ultralight and inexpensive but require about 30 minutes to work, per manufacturer guidelines. Boiling is free and effective but uses fuel and time. A squeeze filter is fast and reusable, adding only a few ounces to your kit. Backpackers should carry a primary method and a backup; a squeeze filter plus a small bottle of chemical drops is a proven pairing.
The kitchen items worth packing (and three to skip)
A complete functional kitchen for two comes down to: one pot with lid, two mugs or bowls, two sporks, a small knife, a lighter, and a scrubber pad. That covers a full weekend. The items that consistently earn their spot are the ones with multiple uses, a pot lid doubles as a cutting surface, sporks replace both fork and spoon. Leave the full cutting board, the coffee percolator, and heavy dishware behind on first trips. These add bulk without meaningfully improving the experience until you’ve dialed in the rest of your kit.
Safety and first aid: non-negotiables before you leave the trailhead
Safety gear is the most consistently under-packed category for first-time campers. Most people pack it last, treat it as an afterthought, and end up with a kit that handles nothing more serious than a paper cut. The field reality is that blisters, cuts, allergic reactions, and sprains are common; packing for them before you leave is faster and cheaper than improvising at a trailhead.
The core first-aid kit every camper needs
A solid base kit includes adhesive bandages in multiple sizes, antiseptic wipes, antibiotic ointment, gauze and medical tape, moleskin for blisters, ibuprofen, antihistamines, tweezers, and an emergency blanket. Pre-assembled kits from brands like Adventure Medical are worth the cost for beginners because they’re already balanced, compact, and designed for field conditions. Building from scratch works too, but it’s easy to miss items like nitrile gloves or an irrigation syringe, the things that only matter once you actually need them. For a printable checklist and further guidance, consult the Red Cross hiking first-aid kit checklist.
Remote and backcountry additions
For trips farther from a trailhead, add a SAM splint, hemostatic gauze, an irrigation syringe for wound cleaning, and a signal mirror. If anyone in the group has a severe known allergy, an epinephrine auto-injector is non-negotiable, period. A whistle and a charged backup communication device round out the signaling side of the kit: both are lightweight and solve problems that a phone with no signal cannot.
The everyday safety items buried at the bottom of most lists
A headlamp beats a flashlight every time because you need your hands free in the dark. A multi-tool handles repairs, food prep, and first aid tasks that a single-blade knife can’t. Waterproof matches serve as backup to a lighter when conditions are wet. A fully charged power bank keeps navigation and communication available on longer trips. None of these items are exciting to pack, and all of them matter the moment something goes wrong after dark.
Clothing layers for unpredictable spring, summer, and fall weather
Clothing is where beginners either show up with a 15-pound duffel of cotton hoodies or get caught on a 40-degree night with only a T-shirt. The three-layer system solves both problems, and once you understand what each layer actually does, packing the right amount becomes straightforward. For a clear primer on why layering works and how to put it together, see REI’s layering basics.
The three-layer system: how it actually works in the field
The base layer wicks sweat away from your skin and keeps you dry from the inside out. The mid-layer, whether a fleece or a light puffy jacket, traps heat and provides insulation. The shell layer, a waterproof and windproof jacket, blocks rain and wind from reaching the layers beneath it. These three layers combined outperform one heavy jacket in variable conditions because you can add or remove pieces as temperature shifts through the day, which it always does in spring and fall.
How many clothes you actually need for a 3-day trip
A concrete packing formula for three days: 2 moisture-wicking base layers (top and bottom), 1 to 2 mid-layers, 1 waterproof shell, 1 pair of rain pants, 1 warm hat, 1 pair of lightweight gloves, and 3 pairs of wool or synthetic socks. Cotton has no place in any of these roles in wet or cold weather. It absorbs moisture, holds it, and chills you from the inside once activity slows. This is the most common and consequential beginner layering mistake across spring and fall camping trips.
Seasonal adjustments worth knowing
Spring camping prioritizes waterproofing and flexibility because temperatures swing hard between morning and afternoon. A second mid-layer and a rain-ready shell are worth the extra weight. Summer often needs only a base layer plus a light wind shell for most nights, with insulation as secondary. Fall upgrades the mid-layer to a warmer option, ideally a light down jacket over a fleece, and keeps the shell within reach at all times. Budget-friendly brands like Decathlon, Outdoor Research, and the REI Co-op house label cover all three layers without the premium price tags of specialty outdoor brands.
Building your final camping gear list: priorities, weight, and what to leave behind
A complete camping gear list only works if it’s tailored to your trip. The four categories above give you the raw material; what follows is how you turn that material into a final, prioritized camping packing list.
How to rank your gear: essential, situational, and comfort-only
Sort every item into one of three tiers. Essentials go in every bag regardless of trip type: shelter, sleep system, water, first aid, How to Build a Campfire Safely: Step-by-Step Guide for Beginners, and navigation. Situational items depend on the specific trip, rain gear for an October Pacific Northwest trip versus sun protection for a July desert outing. Comfort items are evaluated based on the weight and space budget you have left after essentials and situational gear are packed. This framework stops the common beginner error of treating every item on a camping checklist as equally important.
Weight and space rules by trip type
For backpackers, carefully audit any item over 1 pound and target a base weight under 15 pounds for your first trip. Base weight refers to your pack weight excluding consumables like food, fuel, and water, keeping that number in check gives you room to carry what you actually need for the trail. For car campers, think in terms of tote organization rather than weight: group gear by category in labeled bins to keep campsite setup efficient and stress-free.
The single most effective tip for both styles is a gear shakeout night at home before the trip. Lay everything on the floor, run through each category, and pack deliberately. That one step catches most forgotten items before you’re two hours from the nearest store, far better than discovering a missing headlamp at a dark trailhead.
Tent camping checklist: a quick-reference camping gear list
Use this as your starting point before every trip. Adjust quantities and versions based on trip type.
- Shelter: tent with footprint, stakes, and guylines; tarp (optional)
- Sleep system: sleeping bag rated for expected temps, sleeping pad
- Camp kitchen: stove and fuel, pot with lid, utensils, water treatment (primary and backup)
- Safety and first aid: first-aid kit, headlamp with extra batteries, multi-tool, whistle, fire starter
- Clothing: base layers, mid-layer, waterproof shell, rain pants, warm hat, gloves, wool or synthetic socks
- Navigation and communication: map, compass or GPS device, charged power bank
- Leave No Trace: waste bags, camp soap, bear canister or hang bag where required
For a car camping gear checklist, expand the kitchen and sleep categories with comfort versions of each item, air mattress, two-burner stove, full-size cooler, and use the same tier system to decide what actually earns a spot in the trunk.
Where to go from here
A gear list is the starting point, not the finish line. First-time campers who want to go beyond packing and understand campsite selection, beginner safety protocols, leave-no-trace practices, and outdoor skill basics will find all of it in Qurabox’s outdoor beginner content, written in the same step-by-step format as this guide. Qurabox covers a wide range of step-by-step guides, from outdoor topics to technical how-tos like How to Build a PC: Beginner’s Step-by-Step Guide (2026) and activity primers such as How to Start Surfing for Beginners in 2026. It’s built as a full resource library for the capable, curious American who wants reliable answers across every area of outdoor life.
Pack smart, start simple, build from there
Getting your camping gear list right isn’t about owning the most expensive kit on the market. It’s about knowing your trip type and packing the right version of each item in the right priority order. Beginners who nail that discipline outperform experienced campers hauling gear they don’t need.
Start with essentials, layer in situational items, and fill remaining space and weight with comfort gear. Do a shakeout at home the night before you leave. After your first trip, note what you actually used and what stayed at the bottom of the bag the entire time. That feedback loop is how a general camping equipment list becomes a personal, refined system you can trust on any trail you take.