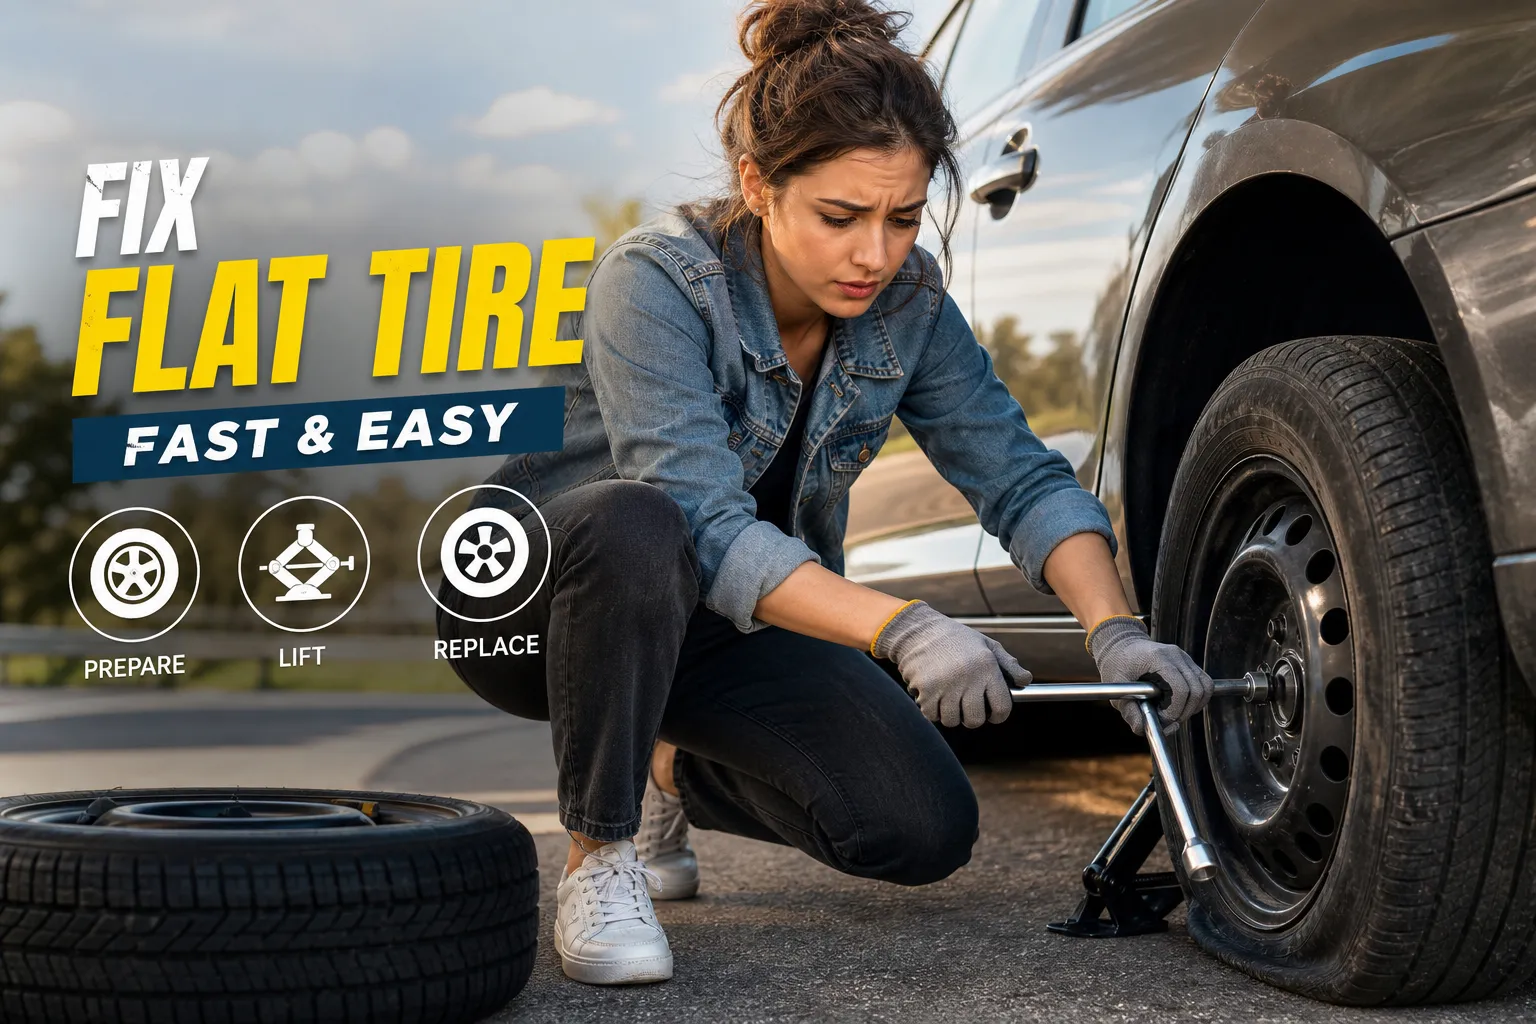
You hear the thwump first, then the steering pulls hard to one side, and the car starts sinking on the front right corner. The instinct is to panic. The better move is to pull over, take a breath, and work through this systematically. Many common punctures, a nail or screw in the center tread, can be handled roadside in roughly 10 to 15 minutes with the right tools, though repair time varies depending on the damage and conditions.
You have three main options for a flat tire fix: aerosol sealant (fastest, under five minutes), a plug kit (more reliable, about 10 minutes), or a spare tire swap (when nothing else works). The right choice depends on the damage, and you can figure that out in under a minute. Here’s how.
Get safe first: what to do in the minute after a flat
Most guides skip straight to the repair and gloss over the safety setup. That’s backwards. Skipping these steps is how people get seriously hurt on the side of the road.
Pull over the right way and stop rolling on a flat
Decelerate gradually and steer toward the nearest shoulder or parking lot. Avoid hard braking, especially if the flat is on a front tire, since the car will already be pulling in that direction. Turn on your hazard lights immediately. Driving even a short distance on a completely flat tire can destroy the sidewall and bend the rim, turning a simple plug repair into a tow truck situation.
Set up a safety zone before you crouch down
If you have warning triangles, reflective flares, or a high-visibility vest, use them. AAA and NHTSA guidance recommends placing warning triangles at least 50 feet behind the vehicle, though placement distance can vary by road type and local regulations. The car must be on flat, stable ground before you attempt any repair. If you’re on a narrow highway shoulder with heavy traffic and no safe place to stand, stay in the car with your seatbelt on and call for help. No repair is worth getting hit.
Do a 30-second damage assessment before choosing your fix
Walk around and look at the tire closely. A nail or screw embedded in the center tread is the green light for a DIY flat tire fix. A sidewall tear, a blowout with visible cords, or a tire that’s completely shredded means you’re skipping straight to the spare or calling a tow. This assessment determines everything that follows, so don’t rush it.
The fastest option: how to use an aerosol tire sealant
Aerosol sealants like Fix-a-Flat are the go-to for drivers who don’t carry a plug kit. The whole process takes under five minutes and requires no tools.
What sealant actually does inside your tire
The aerosol forces a latex or fiber-based liquid through the valve stem. As air escapes through the puncture, it draws the sealant into the hole, where it bridges the gap and holds pressure temporarily. Consumer Reports testing found Fix-a-Flat sealed a 2.4 mm puncture successfully but failed on a 5.8 mm one, so the expectation is set correctly. This works on small, clean punctures. It is not a fix for large holes or sidewall damage.
Step-by-step: using the can correctly
- Shake the can and attach the hose to the valve stem.
- Hold the can upright and dispense the full contents in one go.
- Drive slowly for 2 to 4 miles to distribute the sealant evenly inside the tire (follow your specific product’s label instructions, as mileage recommendations can vary by brand).
- Stop and check pressure with a gauge or your vehicle’s TPMS readout.
- Drive directly to a tire shop, not across town and back.
Most emergency sealant products specify a window of 100 miles or three days. This is not a fix you drive on for a week. Treat it as a bridge to get you to a shop safely.
The TPMS warning and what to tell the shop
Sealant injected through the valve stem can coat the TPMS sensor area and make cleanup more involved for the technician. Some vehicles will throw a TPMS warning light after sealant use. That’s expected and not an additional emergency. Tell the shop you used sealant so they can clean the valve area and inspect the sensor before completing the repair. Skipping that detail can cause problems during the patch process.
A more reliable temporary fix: plug kit repair
A plug kit takes about 10 minutes and holds significantly better than sealant for nail or screw punctures. If you don’t already carry one, a basic kit is often under $20 at any auto parts store, check current retail prices for the best deal, and fits easily in a glove compartment.
What a plug kit includes and when to use one
A standard kit includes a reamer tool, a plug insertion tool, rubber rope plugs, and sometimes rubber cement. You also need a portable air inflator or compressor to reinflate the tire after plugging. Use this method when the puncture is a clean hole from a nail or screw in the center tread, no larger than about a quarter inch, and you can safely access the tire. Do not attempt this on a highway shoulder with no room to work. If you’re new to the process, read a practical guide on how to use a tire repair kit like a pro for step-by-step photos and tips.
Step-by-step: plugging a punctured tire roadside
- Pull out the nail or screw with pliers.
- Insert the reamer tool and twist it in and out to clean and slightly widen the hole.
- Thread a rubber plug through the eye of the insertion tool (apply rubber cement to the plug if included).
- Push the tool into the puncture until about half an inch of plug remains visible outside the tread.
- Pull the tool out quickly and cleanly so the plug stays seated in the hole.
- Trim the excess plug flush with the tread using a knife or scissors.
- Inflate to the recommended PSI and check for leaks with soapy water.
What makes a plug fail, and what to do if it does
A plug won’t hold if the puncture is too large, the hole is steeply angled, or the damage involves the sidewall. If the plug leaks after inflation, don’t try a second one. That tire needs a spare or a tow. Also worth knowing: a plug is a roadside temporary fix. The tire should get a proper internal patch-plug inspection at a shop as soon as you can get there.
When nothing else works: swapping in your spare
Sometimes the damage is too severe for any patch or plug. Blowouts, sidewall tears, and tires that have been driven flat, even for a short distance, can develop compromised sidewall structure that no plug can address. When that happens, the spare is your only option.
Locating your spare, jack, and lug wrench
Most spare tires are under the trunk floor mat, mounted under the rear of the vehicle, or on the back door for SUVs. The scissor jack and lug wrench are typically stored with the spare. One important check to do before an emergency: many newer vehicles no longer include a spare tire at all, only a sealant kit. Open your trunk and verify what you actually have.
Step-by-step: jacking up and swapping the tire safely
- Loosen the lug nuts one half-turn each while the tire is still on the ground (do this before jacking).
- Consult your owner’s manual to find the designated jack point on your vehicle’s frame.
- Position the scissor jack at that point, align the saddle with the reinforced pinch weld, and raise the vehicle until the flat tire clears the ground by a few inches.
- Remove the lug nuts fully and pull off the flat tire.
- Mount the spare and hand-tighten the lug nuts in a star pattern.
- Lower the car, then torque the lug nuts fully in the same star pattern.
- Check the spare’s pressure before driving away.
Donut spare rules every driver needs to know
Most compact spares are rated for 50 mph maximum and approximately 50 miles of driving, check your owner’s manual, as limits vary by vehicle. A donut is not designed for highway cruising. The sidewall on many compact spares specifies a higher inflation pressure than a standard tire (often around 60 PSI, though this varies), so check the spare’s sidewall and your owner’s manual before you drive. Get to a shop and have the original tire repaired or replaced. Treating the donut as a regular tire is how people end up with a second roadside emergency. If you want a full illustrated walkthrough for changing a flat, see our How to Change a Flat Tire (Step-by-Step Guide for Beginners 2026), Qurabox.
What damage can actually be repaired, and what cannot
Understanding repairability saves you from paying for a fix that a shop will refuse, or worse, driving on a tire that’s genuinely unsafe.
The tread-only rule and the quarter-inch size limit
Tire Industry Association (TIA) guidelines are specific on this: a puncture is safely repairable only if it’s in the center tread area, not the shoulder or sidewall, and no larger than a quarter inch (6 mm) in diameter. If the puncture angle exceeds 25 degrees, a two-piece stem-and-patch repair is required. Any deviation from these parameters means the tire is not considered safe to repair, regardless of what a quick-fix product promises on the label. For manufacturer-level guidance on approved repair practices, see the Goodyear bulletin on proper tire repair.
Sidewall damage, blowouts, and other no-repair scenarios
Sidewall damage is never repairable. Neither is a tire with visible cord or belt damage, one worn down to the treadwear indicators, or a tire that was driven flat long enough to deform the internal belts or expose cords, have it inspected if you’re unsure. If you see fabric, wire, or a sidewall bulge, that tire goes in the trash. A sidewall bulge specifically indicates broken internal cords and is a blowout risk. This is a safety absolute, not a cost-cutting debate.
What a professional repair costs and how long it takes
A standard patch-plug repair at a national chain typically runs $20 to $50, with most landing around $25 to $30. Discount Tire’s tire services page notes their eligible repair policies, so it’s worth checking their policy. Time in the shop is typically 20 to 45 minutes for dismounting, inspection, repair, remounting, and balancing. Budget up to an hour if the shop is busy or if TPMS service is needed.
When to skip the DIY and call for help instead
Not every flat is a situation you solve yourself. Knowing when to put the tools down is just as important as knowing how to use them.
Signs the tire is beyond any roadside fix
If the sidewall is torn, the tire has shredded from a blowout, the rim is visibly bent, or you drove on the flat for more than a very short distance, no sealant or plug will help. If you don’t have a spare and sealant failed, do not keep driving. These are the moments to stop completely and get on the phone.
Your fastest options for getting roadside help
AAA provides roadside assistance in many areas, though response times vary by location, check local reviews or contact your provider for average wait times in your area. Many new vehicles include manufacturer roadside assistance as well. Check your auto insurance app or card now, many policies include towing coverage, but limits vary by provider and plan. Save these numbers in your phone before you need them. In a true emergency, dialing 911 is an option; note that connectivity depends on your carrier and local network conditions, so always confirm emergency contact options for your area with your provider.
The short version: your flat tire decision tree
Assess the damage first. A clean nail or screw hole in the center tread gives you two solid roadside options for a flat tire fix: aerosol sealant for a fast temporary repair, or a plug kit for something more reliable. If neither is possible or the damage is too severe, swap in the spare and drive directly to a shop at or under 50 mph. Keep the repairability rules in mind: center tread only, quarter inch maximum, no sidewall damage, period.
Qurabox is built for exactly these moments, whether it’s a flat tire on a Tuesday morning, a check engine light you don’t recognize, or need to check fluids like oil, see our guide on How to Check Oil Level in Your Car: Full Step-by-Step Guide. Practical guides that skip the noise and get you moving are what this site is built on. Save this article, keep a plug kit and a portable inflator in your trunk, and the next flat becomes a 10-minute inconvenience instead of a full crisis. See our disclaimer.
The worst part of a flat tire is not knowing what to do. Now you do.