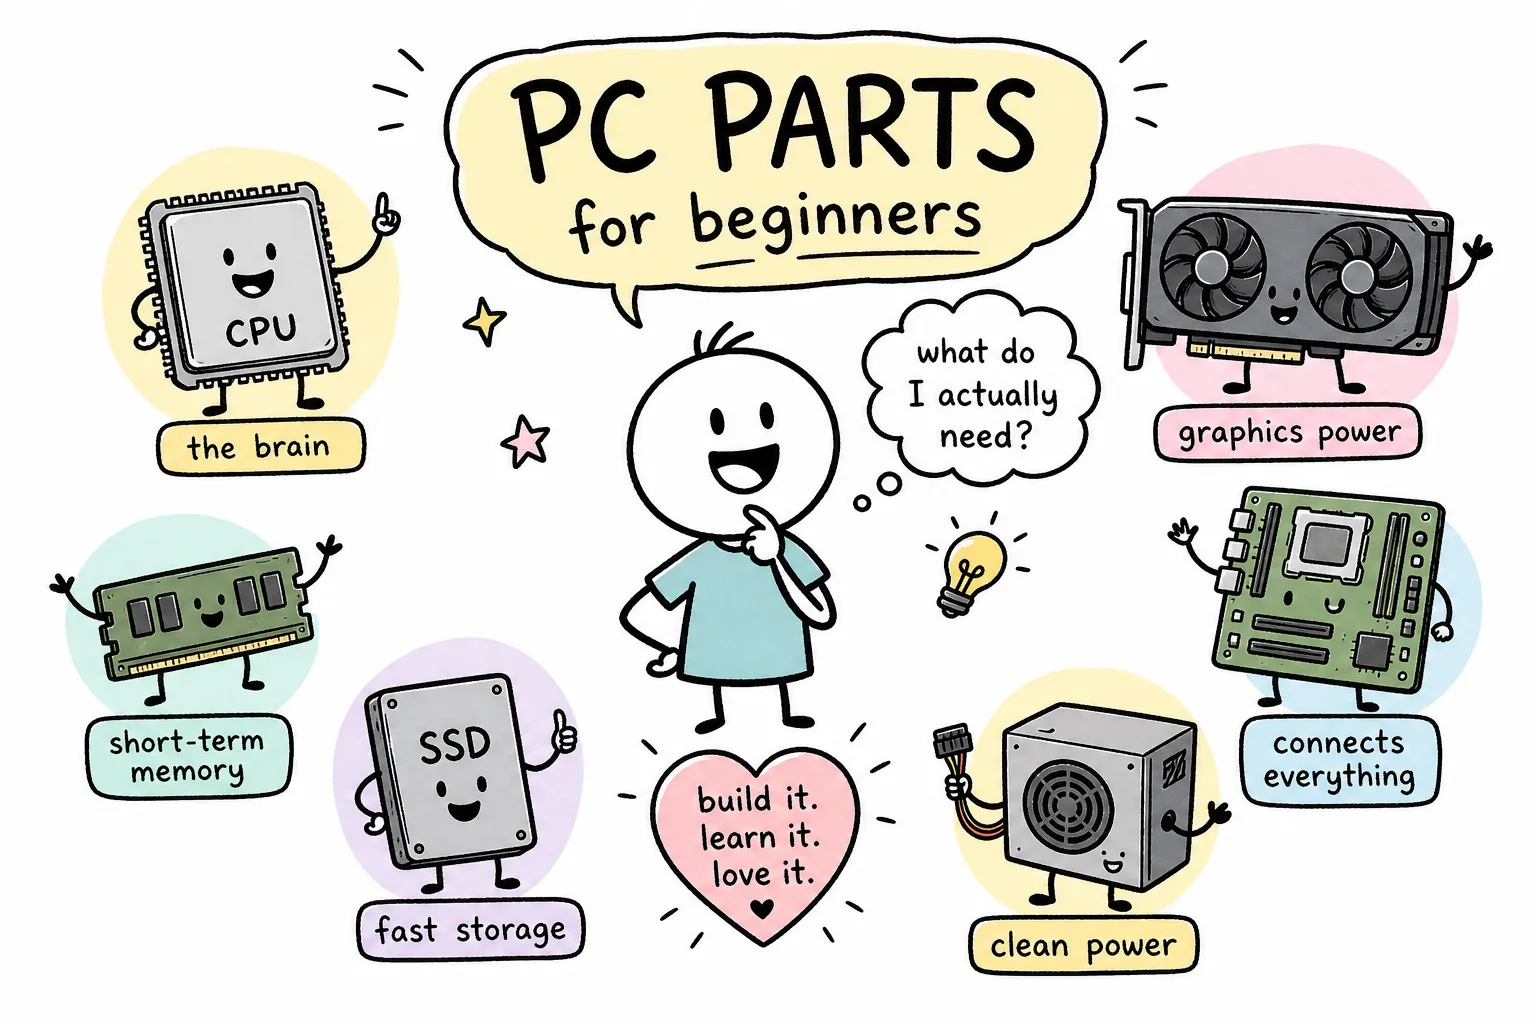
Most people who want to build their own PC don’t stall because it’s too hard. They stall because they open a parts list for the first time and have no idea what half the words mean. CPU, chipset, DDR5, NVMe, PCIe clearance: it’s a lot of terminology for a task that, once you understand the pieces, is genuinely straightforward. Here at Qurabox, we cover everything from home maintenance to tech setup in plain, practical terms, and beginner PC parts are exactly the kind of topic that deserves the same no-jargon treatment.
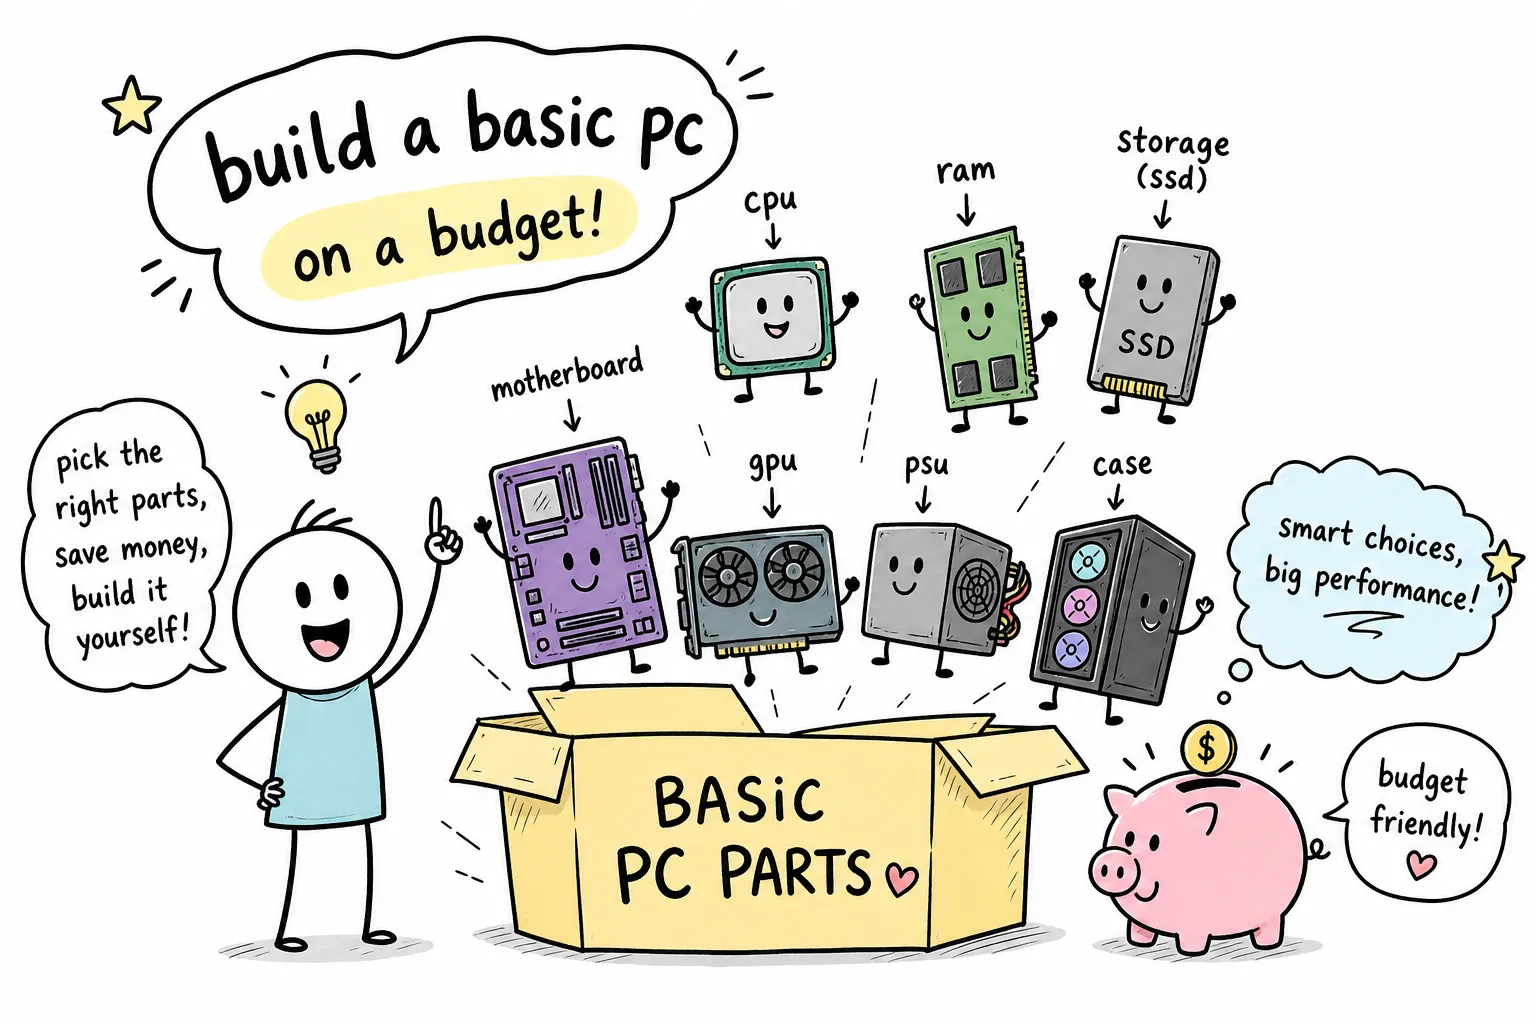
This guide breaks down every core component you need for a first-time PC build, explains what each part actually does, and shows you how to make sure they all work together before you spend a dollar. You’ll also get a realistic picture of what three different budget levels can buy in 2026, and a clear action plan for what to do once your beginner PC build parts list is ready. Think of this as your complete reference for PC components for beginners, from picking the right processor to confirming your power supply can handle the load.
The three parts that define how your PC performs
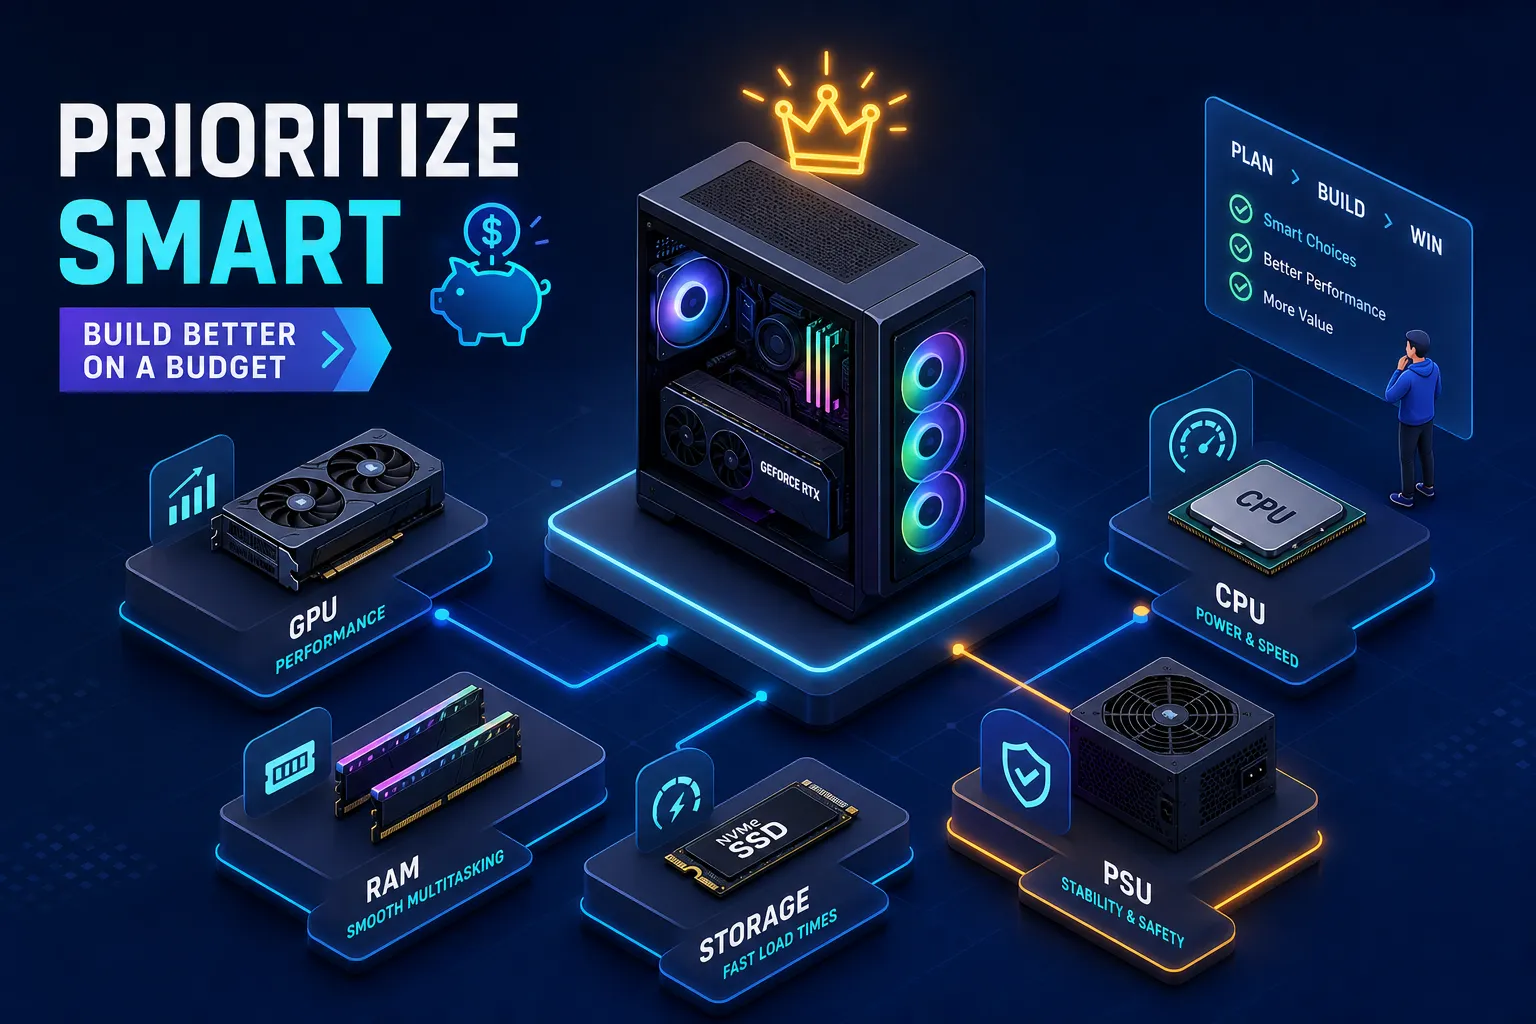
Before anything else gets picked, you need to settle on three components: the CPU, the GPU, and the motherboard. These three choices set your build’s performance ceiling and drive most of the compatibility decisions that follow. Get these right first, and the rest of the build falls into place much more easily.
What the CPU actually does and why it’s called the brain
The CPU (central processing unit) handles all general-purpose instructions: running the operating system, processing game logic, encoding video, and managing background tasks simultaneously. For productivity-heavy work like video editing or running multiple applications, CPU performance matters a lot. For a basic gaming build, a weaker CPU won’t bottleneck you much, but you’ll feel the slowdown the moment you start editing footage or running demanding software alongside a game.
Why the GPU is the single most important part for gaming
The GPU (graphics card) renders every frame you see on screen. For gaming, it has more impact on your experience than any other single component. On an entry-level gaming PC build in 2026, the GPU is where you should allocate the largest share of your budget, and it’s the part worth stretching for if you have any flexibility in your spending.
The motherboard’s role as the backbone of your build
The motherboard connects every other component in the system. It determines which CPU generations it supports through its socket type, which RAM type it accepts, how many storage drives you can install, and which case sizes it fits. Choosing a motherboard without checking these constraints first is the most expensive and most common beginner mistake. Pick the CPU and GPU first, then find a motherboard that supports both.
Beginner PC Parts: RAM, Storage, and Cooling
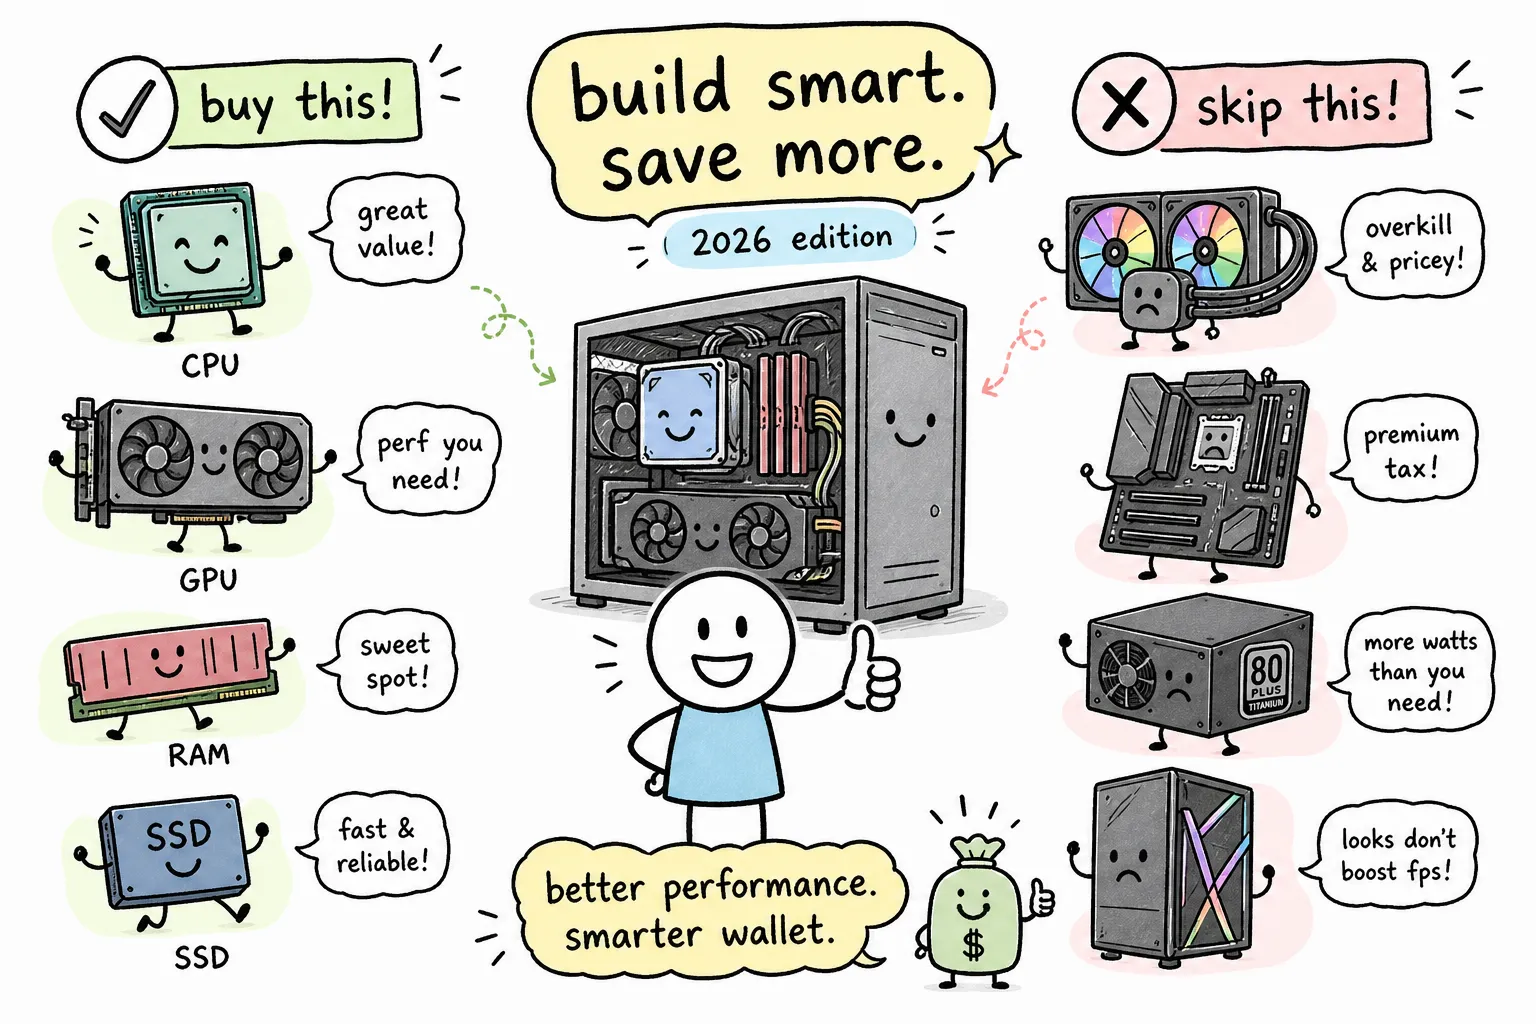
The CPU and GPU get all the attention, but underspending on RAM, storage, or cooling creates frustrations you’ll feel every single day. These are essential PC parts that deserve a real portion of your budget, skimping here to squeeze a few extra dollars toward the GPU is rarely worth it.
How much RAM a first-time builder actually needs in 2026
RAM is your system’s short-term working memory, holding the data your CPU is actively using right now. The practical answer for 2026: 16GB is the technical minimum for gaming, but 32GB is the smarter buy given current game memory demands and the reality of multitasking while gaming. Whether your build uses DDR4 or DDR5 isn’t a preference you get to choose freely, it’s determined entirely by the motherboard you select, so confirm which standard your board supports before ordering RAM.
SSD versus NVMe SSD: which storage type to start with
Any modern build should use an SSD, full stop. The distinction worth knowing is between a standard SATA SSD and an NVMe M.2 SSD. Both store your files, but NVMe drives load Windows and games significantly faster because they use a dedicated high-speed data pathway on the motherboard. Start with at least 1TB of NVMe storage on your first build; 500GB fills up faster than you expect once Windows, a few games, and applications are installed.
When a stock CPU cooler is fine and when it isn’t
Most budget and mid-range CPUs from Intel and AMD include a stock cooler in the box, and for non-overclocked builds it works adequately. If your CPU doesn’t include a cooler, or you plan to push it beyond its default speed, add an aftermarket air cooler to the budget. A solid 120mm air cooler runs $30 to $50 and handles most mid-range CPUs without any issues.
The PSU and case: two parts beginners almost always get wrong
Neither the power supply nor the case is exciting to shop for, but choosing badly here can damage expensive components or force a complete rebuild. These are not the places to hunt for the cheapest option available.
How to figure out how many watts your build needs
Start with the peak power draw of your CPU and GPU combined, then add 20 to 30 percent headroom for stability and future upgrades. A build with a mid-range CPU and GPU typically needs a 650W PSU to run comfortably. If your GPU is an RTX 5060, which Nvidia rates at a 550W minimum system power requirement, plan for at least a 600W unit to maintain that headroom. Free PSU calculators from manufacturers make this straightforward: plug in your parts and get a wattage recommendation. Also confirm that your PSU has the correct connectors for your GPU, since newer 2026 cards may require updated PCIe power connectors that older units don’t have.
What actually matters when choosing a case
For a first build, prioritize these filters in order. The case must match your motherboard’s form factor: ATX, micro-ATX, and Mini-ITX boards each require compatible cases. The case must have enough clearance for your GPU’s physical length, which varies significantly between cards. The case also needs decent airflow so components run at safe temperatures. Aesthetics are a distant fourth consideration, pick a case that clears these practical hurdles first, then choose the one you like the look of from that filtered list.
How to check that your parts are compatible before you spend anything
Compatibility errors are the most common and most avoidable reason first-time builds go wrong. Running through a systematic check takes about ten minutes and can save you from expensive return shipping and weeks of delays.
Matching CPU to motherboard: socket and chipset
Every CPU fits only one socket type, and Intel and AMD use entirely different, incompatible sockets. Even within the same brand, newer CPUs may not work on older motherboards despite sharing the same socket label. The safest approach: go to the motherboard manufacturer’s website, find the CPU support list for your specific board, and confirm your exact CPU model appears on it. Don’t rely on the socket name alone.
RAM type, form factor, and GPU clearance checks
A few more checks round out your PC compatibility checklist. Confirm whether your motherboard supports DDR4 or DDR5, these modules are physically different and not interchangeable. Match the motherboard’s form factor to the case, because an ATX board will not fit in a micro-ATX case. Check your GPU’s physical length against your case’s maximum GPU clearance spec, then verify the PSU has matching power connectors for that card. A tool like PCPartPicker handles most of these checks automatically and flags conflicts as you build your list, making it a practical first stop for any first-time builder working through their beginner PC parts selections.
What you can realistically build in 2026 at three budget levels
Generic advice about “budget” and “mid-range” builds isn’t useful without real numbers. Here’s what the current 2026 market actually delivers at each tier.
Budget builds in the $400 to $800 range: what’s actually possible
A true $400 build in 2026 requires either a CPU with integrated graphics, an APU like the Ryzen 5 8600G paired with a B650 or A620 motherboard and 32GB DDR5, or used GPU parts to keep costs in range. The more comfortable sweet spot is $450 to $500, where a build using previous-gen value options like a Ryzen 5 5500 and an RX 6600 still delivers solid 1080p gaming for the price. Pushing to the $800 ceiling opens up more current-gen hardware: a Core i5-14400F (a previous-gen value standby that remains widely available and competitively priced) with an RX 7600, 16 to 32GB of DDR4 RAM, a 1TB NVMe SSD, and a 650W PSU makes for a capable entry-level gaming PC.
Mid-range builds ($800 to $1,500): the sweet spot for most beginners
This tier is where the best value lives for most people putting together their first PC. A Ryzen 5 9600X paired with an RTX 5060, 32GB of DDR5, and a 1TB NVMe SSD builds a strong gaming machine for around $800 to $850 in 2026. Spending toward $1,500 adds premium cooling, larger storage, better long-term upgradability, and room for a stronger GPU without forcing tradeoffs elsewhere.
When a high-end build actually makes sense for a first-time builder
Most beginners don’t need a $1,500-plus build. High-end spending makes sense for 4K gaming at high refresh rates, video editing with large files, or 3D rendering workloads. For everyday gaming and productivity, the mid-range tier handles the job at far lower cost. A $500 APU build you finish today beats a $2,000 system you never quite get around to buying.
Your next steps after you have a parts list
A parts list on paper is the halfway point. The sections below cover where to buy, how to avoid checkout surprises, and the assembly mistakes that send first-time builders back to square one, so you can move from list to finished build with fewer headaches.
Where to buy and how to avoid surprises at checkout
Use PCPartPicker to finalize your list: it flags compatibility conflicts in real time and tracks prices across major US retailers simultaneously. Buying all your parts from one retailer in a single order simplifies the return process if something arrives defective. Check the return window before ordering; most major retailers offer 15 to 30 days on PC components.
Assembly basics and the mistakes that trip up first-time builders
A handful of mistakes account for a large share of first-build troubleshooting headaches, and all of them are easy to prevent. Not grounding yourself before handling components is the first one: static discharge can damage parts silently, so touch a metal surface or wear an anti-static wristband before picking up the motherboard or GPU. Forgetting to install the motherboard I/O shield before mounting the board is another common stumble, once the board is screwed down, the shield won’t fit, and removing everything to install it wastes an hour. Finally, placing RAM sticks in the wrong slots trips up a surprising number of builders: most boards require specific slots (usually A2 and B2) for dual-channel operation, and using adjacent slots instead can reduce performance or prevent the system from booting. Each of these takes 30 seconds to check and saves hours of troubleshooting later.
Keep building with Qurabox guides
Once your parts list is locked in, the next step is assembly, and that’s where a reliable step-by-step guide makes a real difference. Qurabox publishes beginner-friendly how-to content across tech, home, and practical life topics, with guides built for first-timers who want clear instructions without unnecessary jargon. Check the related guides on cable management, first-boot setup, and BIOS configuration to take your build from a pile of components to a fully running system. Visit Qurabox for more guides and resources.
Putting it all together
Once you understand what each part does, building a PC stops feeling like an engineering project and starts feeling like a practical task with a clear sequence. Choose the CPU and GPU first, confirm motherboard compatibility second, then fill in RAM, storage, PSU, and case around those two anchor choices. Run every pick through a compatibility checker before ordering anything.
The best build is the one that fits your actual budget and use case. There’s no prize for overspending on a high-end setup when a mid-range build handles everything you actually do. Start with your budget, work through the compatibility checklist, and use the beginner PC parts guidance in this article as your reference while you shop. Your parts list is closer to finished than you think.