Picture this: it’s 11 p.m., you’re on the shoulder of a dark highway, your left rear tire is flat, and you’ve just opened your trunk to find a half-inflated donut spare and no jack handle. Many American drivers have been in exactly that situation. The problem isn’t bad luck. It’s the assumption that the car came ready for a flat, and for most vehicles, it didn’t.
If you’ve ever asked yourself what tools do I need in my car to change a tire in an emergency, this guide answers that question in full. It covers every essential item, what to look for when buying each one, and what to do if your spare is missing entirely. At Qurabox, practical car guides like this sit alongside our broader library of home, wellness, and DIY content because handling a roadside problem confidently is a real life skill, not a niche one.
What Tools Do I Need in My Car to Change a Tire in an Emergency, The Five Essentials
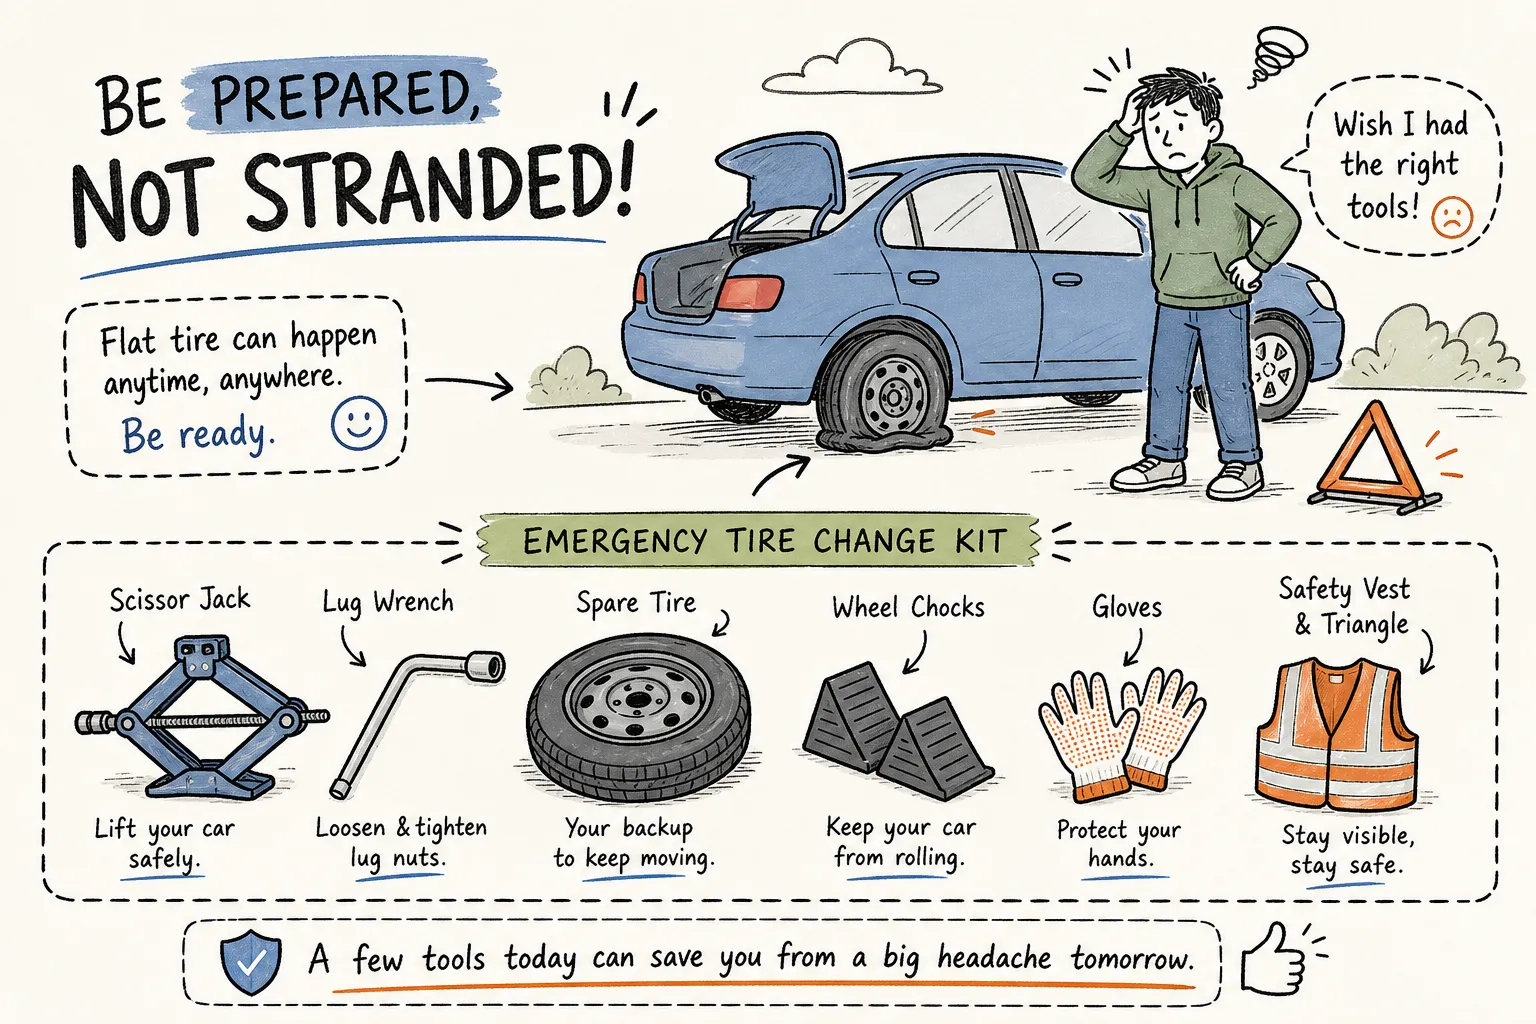
Most vehicles come with some of these from the factory, but presence isn’t the same as readiness. A flat spare or the wrong jack is as useless as no equipment at all. Without all five of these, completing a standard spare-swap is unlikely, though compact alternatives like plug kits or sealant can sometimes get you moving when a spare isn’t available (more on that below).
Spare tire: the one you own vs. the one you actually need
Most passenger cars come with a compact spare, also called a donut. These are smaller and lighter than a full-size tire, which makes them easier to store but limits how you use them after a swap. A donut spare tops out at 50 mph and is safe for roughly 50 to 70 miles before it needs to come off. That’s enough to reach a shop, not enough to drive home from a road trip.
Some newer vehicles, particularly many electric and hybrid models, ship with no spare at all. If that’s your situation, the tool strategy changes entirely (more on that below). Check your spare’s pressure monthly using the PSI listed in your owner’s manual. A spare sitting flat in a trunk compartment is just dead weight.
Car jack and lug wrench: the core removal pair
The factory scissor jack that came with your car is engineered for a single roadside emergency on flat, stable ground. It works, but it’s slow and unstable on uneven pavement. For SUV and crossover owners, check your vehicle’s gross weight first, many larger crossovers and SUVs require a 3-ton jack for a safe working margin, so confirm the rating before you buy. A hydraulic floor jack lifts faster and sits more stably than a scissor jack, making it a worthwhile upgrade for heavier vehicles.
One critical sequence most people get wrong: loosen the lug nuts before you jack the car up. Once the tire is off the ground, it spins freely and you lose all leverage. Break the resistance first, then lift. For a step-by-step visual and extra tips on the proper sequence, see this how to change a tire guide.
Wheel chocks and a tire pressure gauge: the overlooked must-haves
Wheel chocks prevent the vehicle from rolling while it’s lifted, especially on any slope that’s invisible at a glance. Place them against the tire diagonally opposite the flat: if the front-left is flat, chock the rear-right. Look for chocks with good grip and wide contact surfaces, many drivers prefer rubber for added stability on asphalt and gravel. A digital pressure gauge confirms the spare is at a safe PSI before you drive on it. A stick gauge works, but a digital one reads faster when your hands are cold and your nerves are up.
Roadside Safety Gear That Protects You While You Work
Personal visibility is the first task, not the jack. A tire change on a highway shoulder can take anywhere from 15 minutes to well over half an hour depending on your experience, lighting, and available tools. That’s a long time to stand near moving traffic without signaling your presence. The gear in this section doesn’t change the tire, but it keeps you alive while you do it.
Reflective triangles and warning vest: your visibility layer
Warning triangle placement depends on road type, on two-lane roads, you’ll want coverage both in front of and behind the vehicle, while on divided highways the FMCSA recommends spacing them at roughly 10, 100, and 200 feet behind the vehicle. A reflective vest goes on before you exit the car, not after you’ve already been standing on the shoulder. Buy a DOT-compliant set of three triangles so you can cover the required placement distances for your situation. Fold-flat vests with an ANSI Class 2 rating are bright enough for highway shoulders and compact enough to store in a door pocket.
Reflective triangles beat road flares for most situations. Flares can fail in cold or wet weather, need active monitoring to stay lit, and pose a fire risk on dry grass shoulders. Triangles are passive, reusable, and reliable in virtually any condition.
Work gloves and a flashlight: two items most kits forget
Lug nuts, road grime, and a sharp wheel edge are hard on bare hands. Gloves also give you a better grip on cold metal in winter. A headlamp solves the “holding a flashlight while working” problem entirely since you need both hands free when positioning the jack and removing the tire. Rechargeable headlamps are worth the slight extra cost over battery-powered models because you’re not discovering dead batteries when you need the light most.
Choosing the Right Jack for Your Specific Vehicle
The factory scissor jack is engineered for a single jacking point on one vehicle, it’s a starting point, not a complete solution. Many drivers run into trouble when they buy an aftermarket jack without checking lift range or weight capacity against their actual vehicle.
Scissor jack vs. floor jack vs. bottle jack: what each does well
Scissor jacks are compact and come standard with most cars. They’re adequate for light sedans in a genuine roadside emergency, but they’re slow and tip more easily on uneven ground. Floor jacks lift faster and sit more stably, but they’re bulkier for trunk storage. Bottle jacks are powerful and compact, but they require more starting ground clearance, which makes them a better fit for trucks and tall SUVs than for low-profile sedans. For model recommendations and thorough testing, consult this overview of the best car jacks tested.
Lift capacity and clearance numbers that actually matter
A jack needs to be rated for at least 75% of the vehicle’s gross weight. Most standard sedans need a 2-ton jack. Larger crossovers and SUVs need a 3-ton rating for a safe working margin. On lift height: the tire needs to be at least 6 inches off the ground to clear, but 10 to 12 inches is safer and easier to work with, especially if you need room to maneuver the tire off the studs without it scraping the pavement.
What Tools Do I Need in My Car to Change a Tire? These Upgrades Help
None of these are required, but each one solves a specific frustration you’ll likely run into without it. A stuck lug nut at midnight is the most common moment drivers wish they’d packed a breaker bar. Think of these as the second tier once the core five are sorted.
Breaker bar and torque wrench: for lug nuts that won’t budge
Impact guns can over-torque lug nuts, and a standard factory lug wrench often won’t provide enough leverage to break them loose. A 1/2-inch drive breaker bar in the 18- to 24-inch range gives you enough mechanical advantage without being cumbersome to store, a commonly recommended size for roadside use. A torque wrench ensures you reinstall the spare to your vehicle’s specified torque (check your owner’s manual for the exact value; a typical passenger car range runs roughly 80 to 100 ft-lbs, but this varies by make and model) instead of just cranking until it feels tight.
Portable tire inflator and wheel lock key: two often-overlooked additions
A portable tire inflator, part of any solid emergency tire change kit, tops up a spare that’s lost pressure sitting in the trunk for months. Compact models plug into a 12V outlet and can bring a standard passenger tire from low pressure to target PSI in about a minute, fitting neatly in a trunk bag. This kind of spare tire tool is easy to overlook until you actually need it. If your car has anti-theft lug nuts, a wheel lock key is not optional; it’s required. The key is usually stored in the glove box, but confirm that before you need it. A replacement key from a dealership runs $50 to $150, a frustrating expense to learn about roadside. For comparison and recommendations on portable inflators, see this review of the best portable tire inflators tested.
What to Do When You Don’t Have a Spare
Many EVs, hybrids, and newer compact cars ship without a spare. Even older vehicles sometimes lose their spare to damage or slow deflation over time. A proper flat tire tools kit for these situations looks different from the standard spare-swap setup. These compact workarounds are not permanent fixes, but they can get you off the highway and to a shop safely.
Tire sealant cans: the simplest option with real limits
Sealant works like this: attach the hose to the valve stem, inject, and inflate. It handles small tread punctures on tubeless tires. Sidewall damage, large cuts, or a tire that has come off the rim are beyond what any sealant can fix. Sealant is also a one-shot item and leaves a residue inside the tire that a mechanic must clean out before a proper repair can be made.
Plug kit plus portable inflator: the more capable compact combo
A tire repair kit built around a plug kit and portable inflator addresses the leak source directly rather than masking it. The plug seals the puncture; the inflator restores pressure after it’s seated. Together, they handle most small tread punctures, check current retail prices, as the combined cost is typically modest. Look for a plug kit labeled specifically for tubeless tires. After using either a plug or sealant, get the repair inspected by a shop within 100 miles and avoid highway speeds until a professional has confirmed the tire is safe.
How to Store and Organize Everything in Your Trunk
A disorganized kit is nearly as useless as no kit at all. Scrambling for the wheel lock key at midnight on a dark shoulder turns a manageable situation into a dangerous one. Organization is a safety issue, not a convenience preference.
How to store the tools you need in your car to change a tire in an emergency
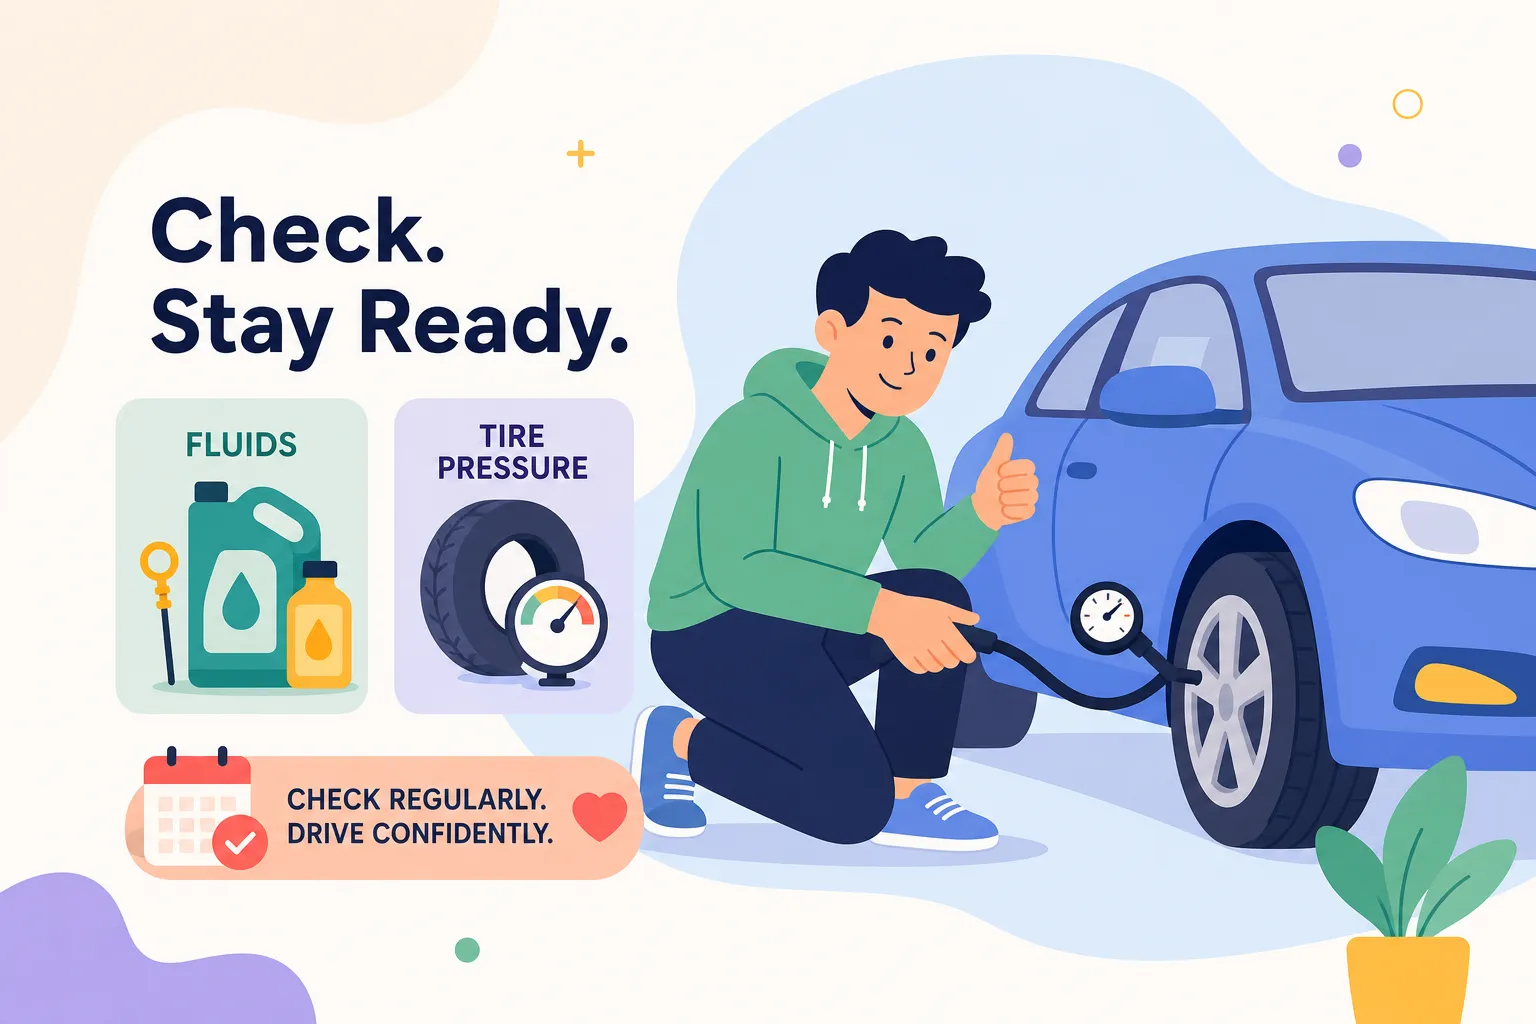
Keep a dedicated canvas or zippered bag for all hand tools: gloves, pressure gauge, triangles, lug wrench, chocks, and wheel lock key if applicable. The spare belongs in its designated compartment, pressure-checked monthly. The jack should be secured so it doesn’t roll freely, damage other items, or rattle while you drive. Treat your emergency tire change kit like any other safety system, check it on a schedule, not just when something goes wrong. If you need a quick refresher on the correct PSI and how to confirm pressure properly, consult our How to Check Tire Pressure (2026): Correct PSI, TPMS Light Fixes, Step-by-Step Instructions, Safety Tips & Common Mistakes to Avoid guide for step-by-step instructions.
Taking the next step: building a full car emergency kit
A tire change kit is one part of a broader roadside preparedness setup. If you want to go further, Qurabox’s car emergency preparedness guides cover everything from jumper cables and roadside first aid to seasonal vehicle prep, all organized by vehicle type and budget. For routine vehicle maintenance that complements your emergency kit, see our How to Check Oil Level in Your Car: Full Step-by-Step Guide. Once your tire kit is sorted, that’s the natural next read, and if you’re planning trips that rely on self-sufficiency, our How to Camp for Beginners 2026: Complete Gear Checklist, Campsite Setup, Food, Safety & First Trip Guide covers how to pack and prioritize gear for remote drives.
Build the Kit This Weekend, Not After the Next Flat
The structure here is straightforward: core flat tire tools first (spare, jack, lug wrench, chocks, pressure gauge), then safety gear (triangles, vest, gloves, headlamp), then upgrades (breaker bar, torque wrench, inflator, wheel lock key). The goal isn’t to carry everything. It’s to carry the right things for your specific vehicle and weight class.
Check your spare’s pressure right now, before you finish reading this. Not after the next long drive. Go through your trunk this weekend, inventory what you have, and fill the gaps using the buying tips in this article. Knowing what to keep in your car for an emergency tire change is the kind of preparation that pays off exactly once. But at midnight on a dark highway, that one time makes every minute you spent on this completely worth it.
For a curated list of useful tools beyond the essentials, breaker bars, specialty lug wrenches, and other items that can speed a roadside tire change, see this practical list of 10 tire-changing tools that make tire emergencies easier.